> ## Documentation Index
> Fetch the complete documentation index at: https://docs.domino.ai/llms.txt
> Use this file to discover all available pages before exploring further.
# Configure IP whitelisting
IP whitelisting is a security feature that lets you choose which IP addresses can access your Domino cluster. This improves security by allowing only trusted IPs and blocking unauthorized access. You can set up IP whitelisting in the Domino Admin UI.
When you add or remove IP ranges, the changes usually take effect about 10 minutes after you save them.
## Configure IP whitelisting
1. In the admin portal, go to **Platform Settings** > **Deployment Configuration**.
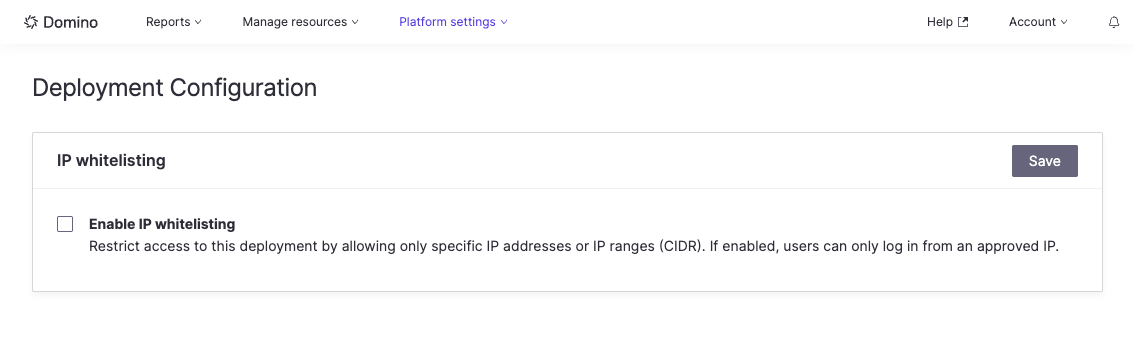 2. You can enable IP whitelisting by checking the **Enable IP Whitelisting** checkbox.
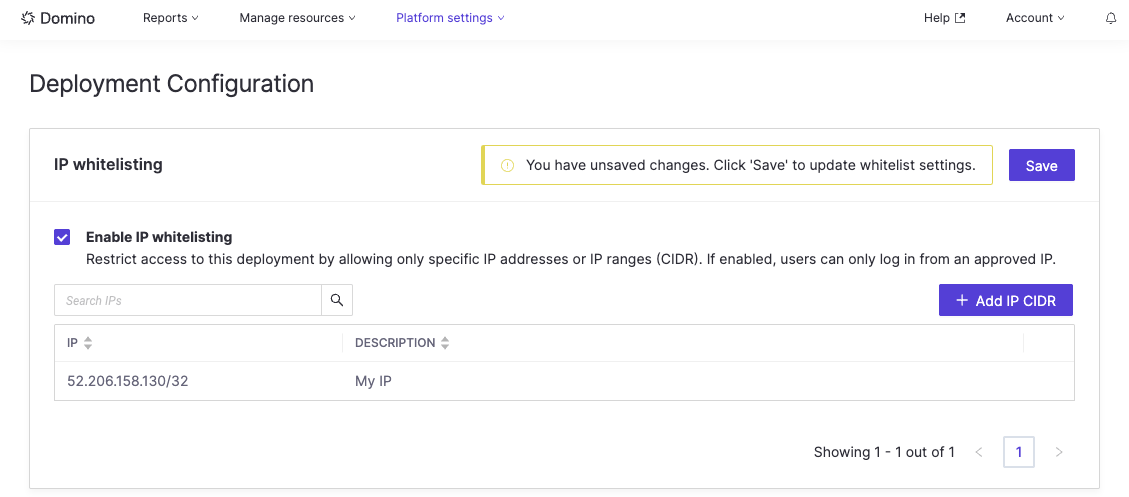 It will automatically add your current IP, so there is no way to lock yourself out of the deployment.
3. Click the **Add IP CIDR** button to create a new row where you can add the IP range you want to whitelist.
1. Optional: add with a description.
4. Click the green check to add the IP to the list.
5. When you are done adding the IP ranges to whitelist, click the **Save** button to save your changes.
The changes will take effect approximately 10 minutes after saving.
## Disable IP whitelisting
To disable IP whitelisting, uncheck the **Enable IP Whitelisting** checkbox, then click the **Save** button.
The changes will take effect approximately 10 minutes after saving.
It will automatically add your current IP, so there is no way to lock yourself out of the deployment.
3. Click the **Add IP CIDR** button to create a new row where you can add the IP range you want to whitelist.
1. Optional: add with a description.
4. Click the green check to add the IP to the list.
5. When you are done adding the IP ranges to whitelist, click the **Save** button to save your changes.
The changes will take effect approximately 10 minutes after saving.
## Disable IP whitelisting
To disable IP whitelisting, uncheck the **Enable IP Whitelisting** checkbox, then click the **Save** button.
The changes will take effect approximately 10 minutes after saving.