

Contents
- What it does
- Requirements
- Data handling and privacy
- Getting started
- Generate a document
- Templates and specs
- Citations
- Governance bundles
- Outputs and history
- What to expect
- For administrators
- Troubleshooting
What it does
- Documentation templates you can preview, edit, upload, or browse from project datasets.
- Automatic analysis of model code, training artifacts, and registry metadata.
- Optional governance grounding from Domino Governance bundles (policy, evidence, findings).
- Citations to source code, model runs, artifacts, and governance records.
- A Word document and an editable Jupyter notebook stored in your project’s autodoc dataset.
- Generation runs as a Domino job in the target project, so heavy work does not run in the Studio app.
Requirements
- Domino 6.3.0 or later.
- Extension installed via Admin > Extensions > Manage Domino-official Extensions.
- An LLM provider API key (
ANTHROPIC_API_KEYorOPENAI_API_KEY) available to documentation jobs in the target project. You can set it on the compute environment, the project, or your user account. User-level values take precedence over project and compute environment values. - Read access to the target project’s code, datasets, and (if used) governance bundles.
Data handling and privacy
Documentation jobs run inside your Domino project and call the LLM provider you select in Advanced options. Before any code is sent to the provider, the scanner redacts likely secrets and credentials. What gets redacted before LLM calls:- API keys, secret tokens, passwords, and bearer tokens matched by pattern.
- AWS access key IDs and secret access keys.
- GitHub, Slack, and Anthropic API tokens.
- Entire contents of files named
.env,.pem,.key,credentials, orsecrets.
[REDACTED] placeholder. Files larger than the configured size limit are truncated before being sent.
What is sent to the provider:
- The code, model metrics and parameters, registered model metadata, and governance evidence needed to write the document. The LLM provider receives this content to generate prose.
If your organization requires a specific provider endpoint or proxy, set
ANTHROPIC_BASE_URL or OPENAI_BASE_URL on the job compute environment and leave the in-app base URL at its default.Getting started
Where to open it
After your administrator installs the extension, open Auto Model Documentation from:- The project sidebar (Extensions section) while viewing any project.
- The model page when viewing a registered model. This pre-populates model filters and can auto-select a governance bundle.
projectId from Domino when launched from a mount point.
On first open, Domino may ask you to authorize the extension app to act on your behalf. Click Authorize to continue.
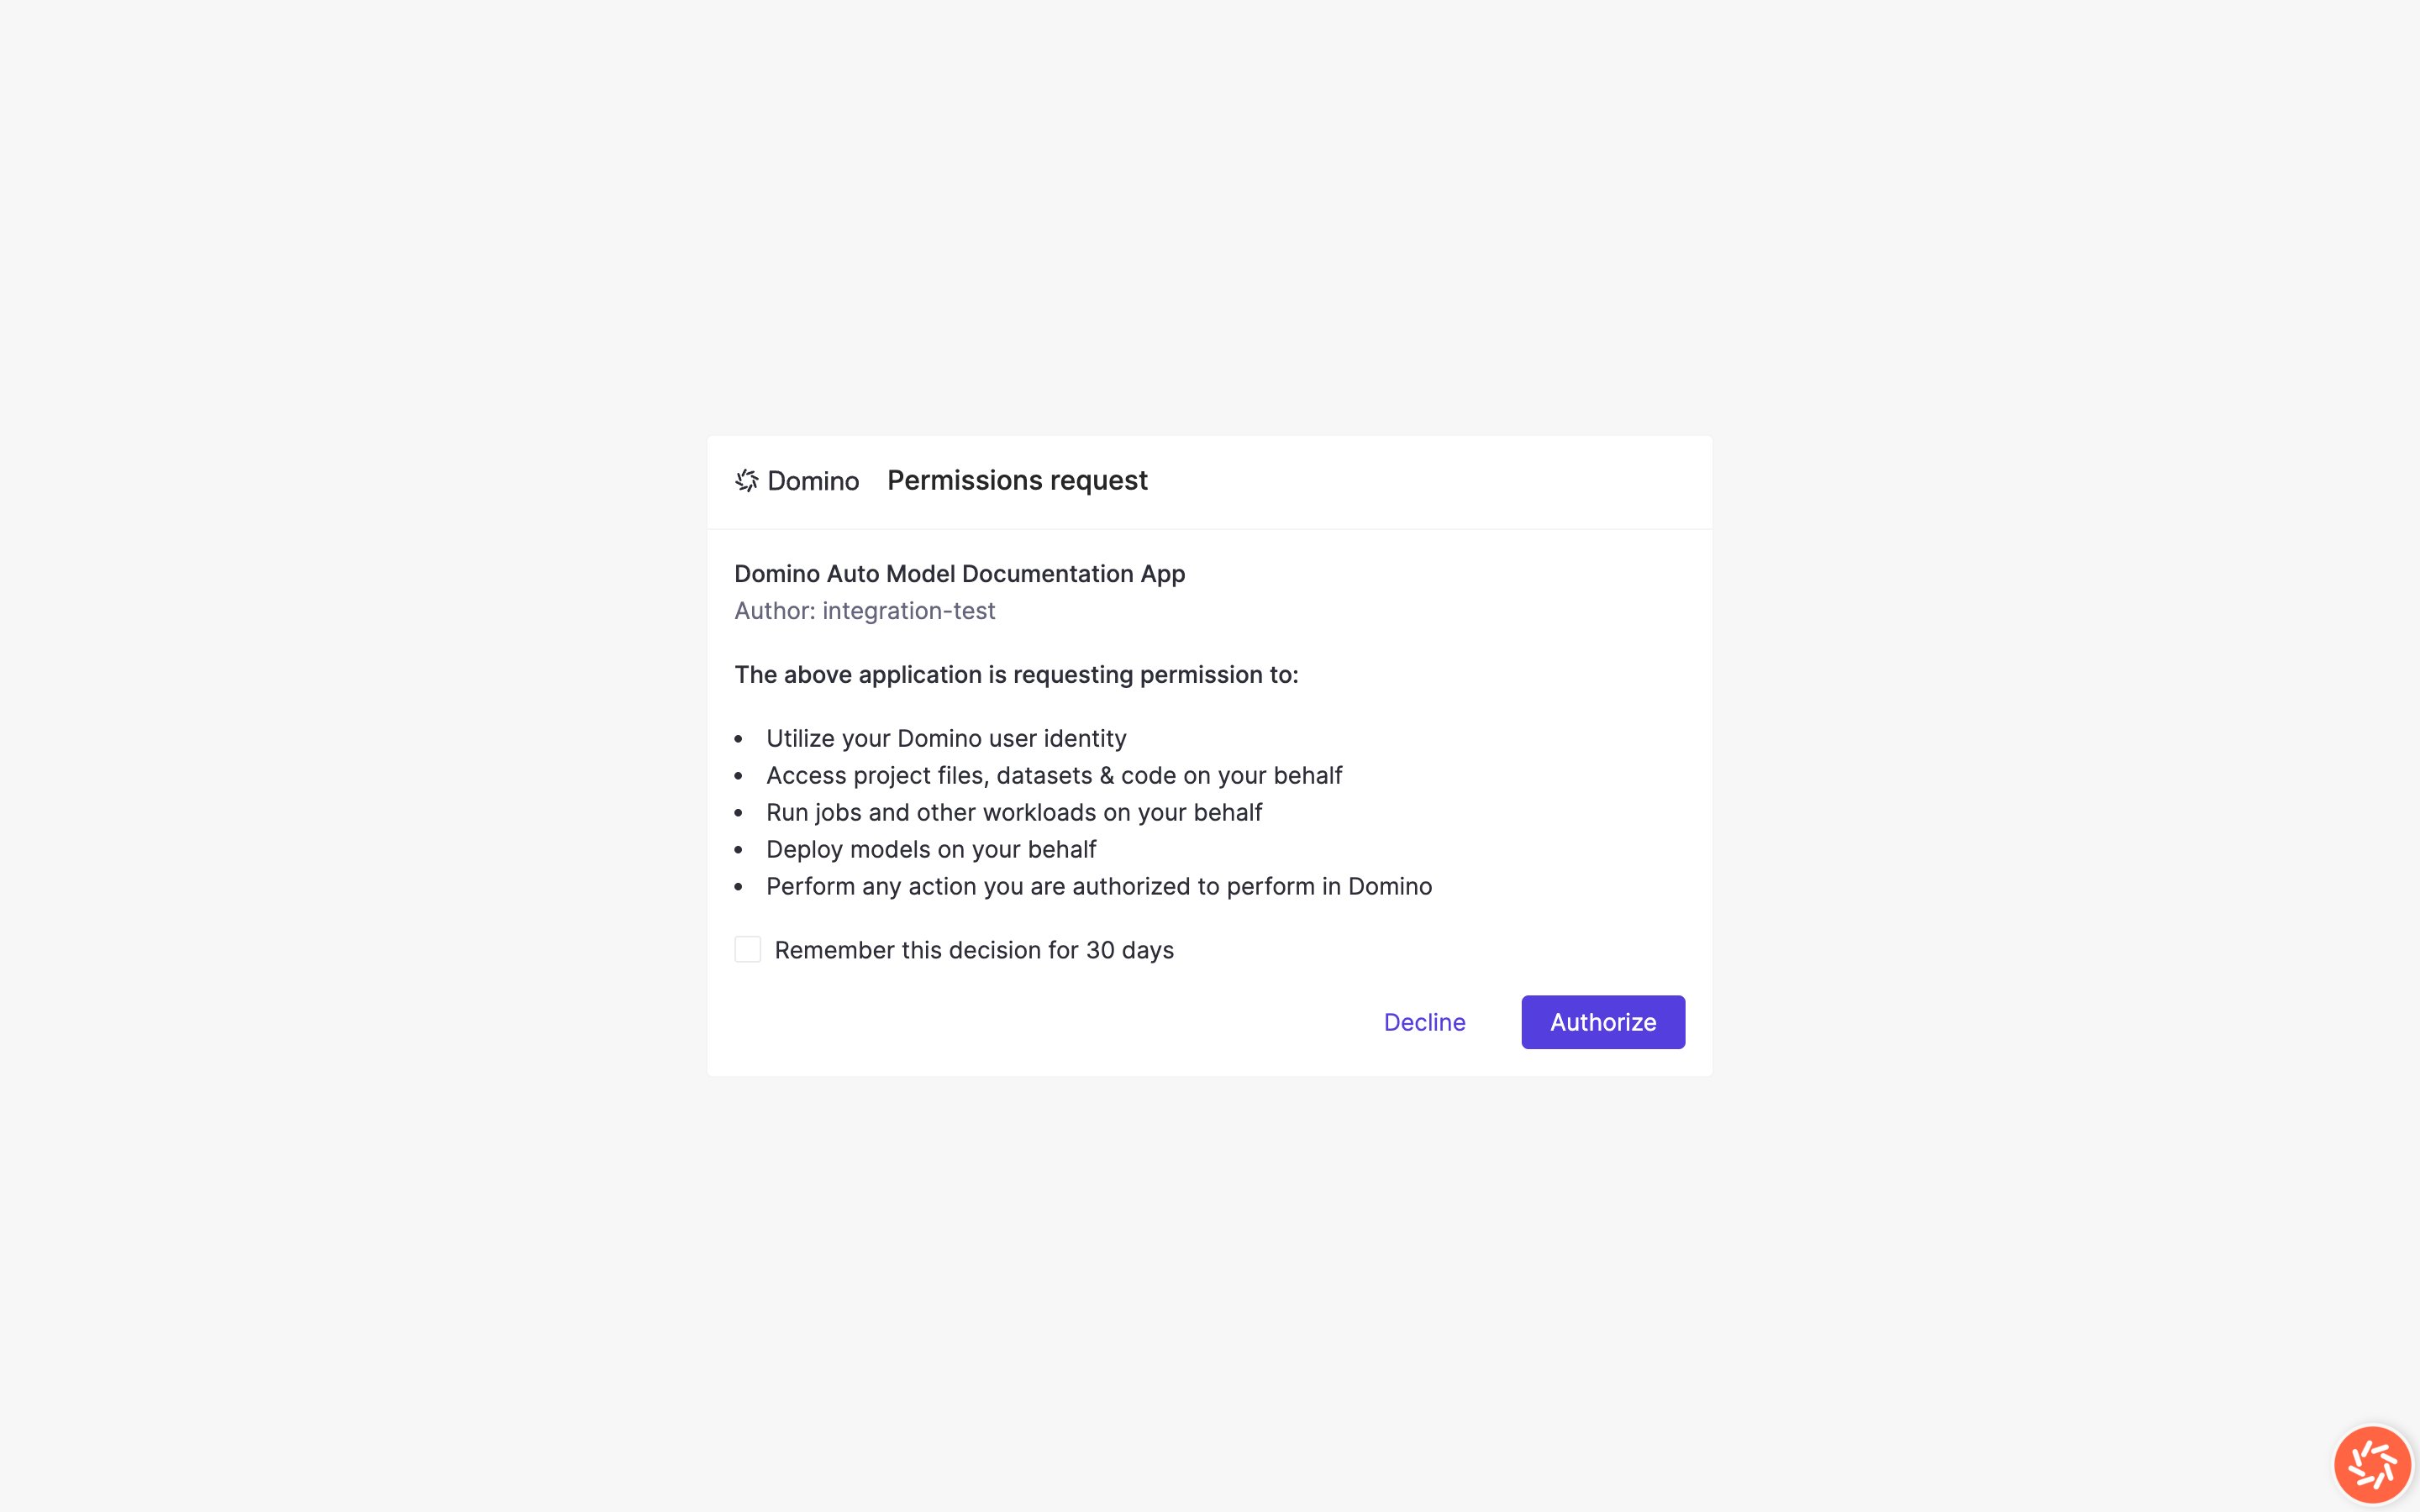
Permissions consent dialog
Prerequisites
- Extension installed. Your Domino administrator has installed Auto Model Documentation from the official extensions installer.
- Project access. You can open the target project and run jobs in it.
- LLM credentials. The project (or its default compute environment) has
ANTHROPIC_API_KEYorOPENAI_API_KEYset. Jobs inherit these variables when they run. You can also set the key on your user account (Account Settings > User environment variables). User-level values take precedence over project and compute environment values. - Model artifacts (recommended). Your project has model metrics, model info, or registered models you want documented. The tool can run on code alone, but results are richer when training artifacts exist.
Confirm the Studio loaded correctly
You should see:- Choose a template on the left with templates in the gallery.
- Document outline preview on the right (after you select a template).
- A Generate Documentation button at the bottom (enabled after you select a template).
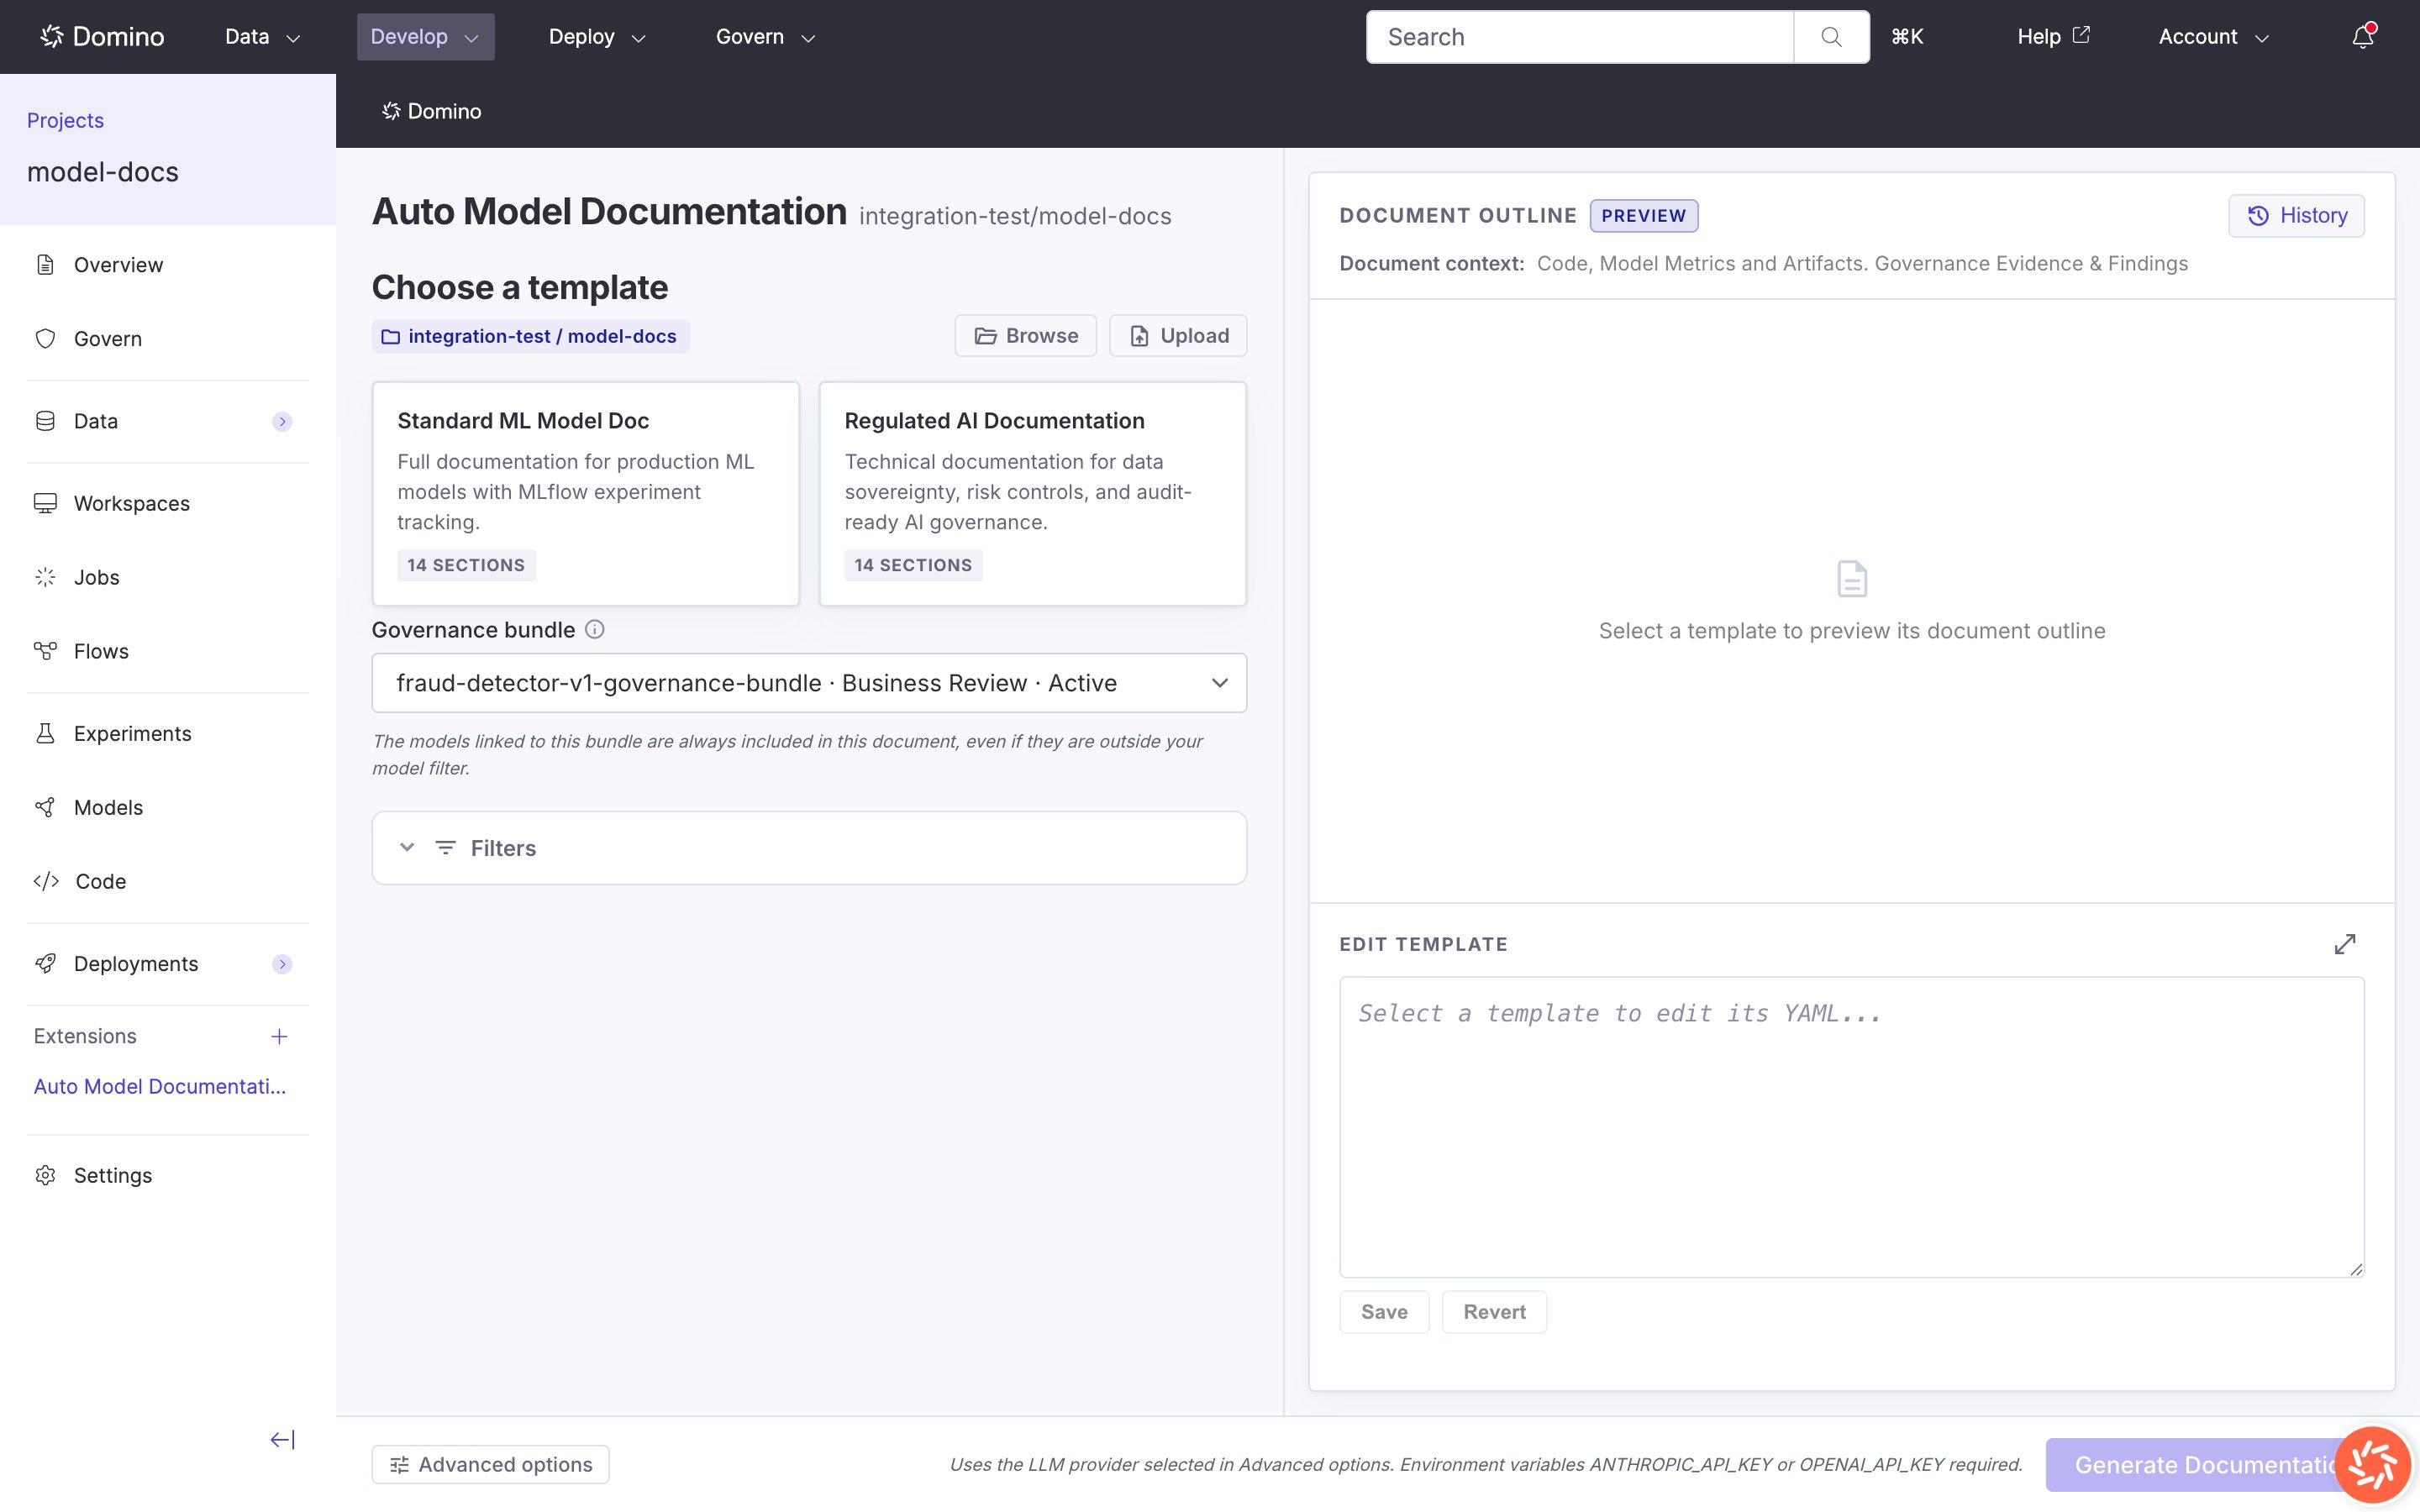
Studio main view with template gallery
First-run checklist
- Select a template
- Review the document outline preview
- Expand Filters if you want to limit models or experiments
- Select a Governance bundle if your project has governance enabled
- Open Advanced options and confirm provider, model, hardware tier, and environment
- Click Generate Documentation
Generate a document
The Studio is a two-step wizard:- Choose a template and configure options.
- Results with live job status, preview, and download links.
Step 1: Choose a template
Click a template card in the gallery to select it. The Document outline panel shows every section the template generates.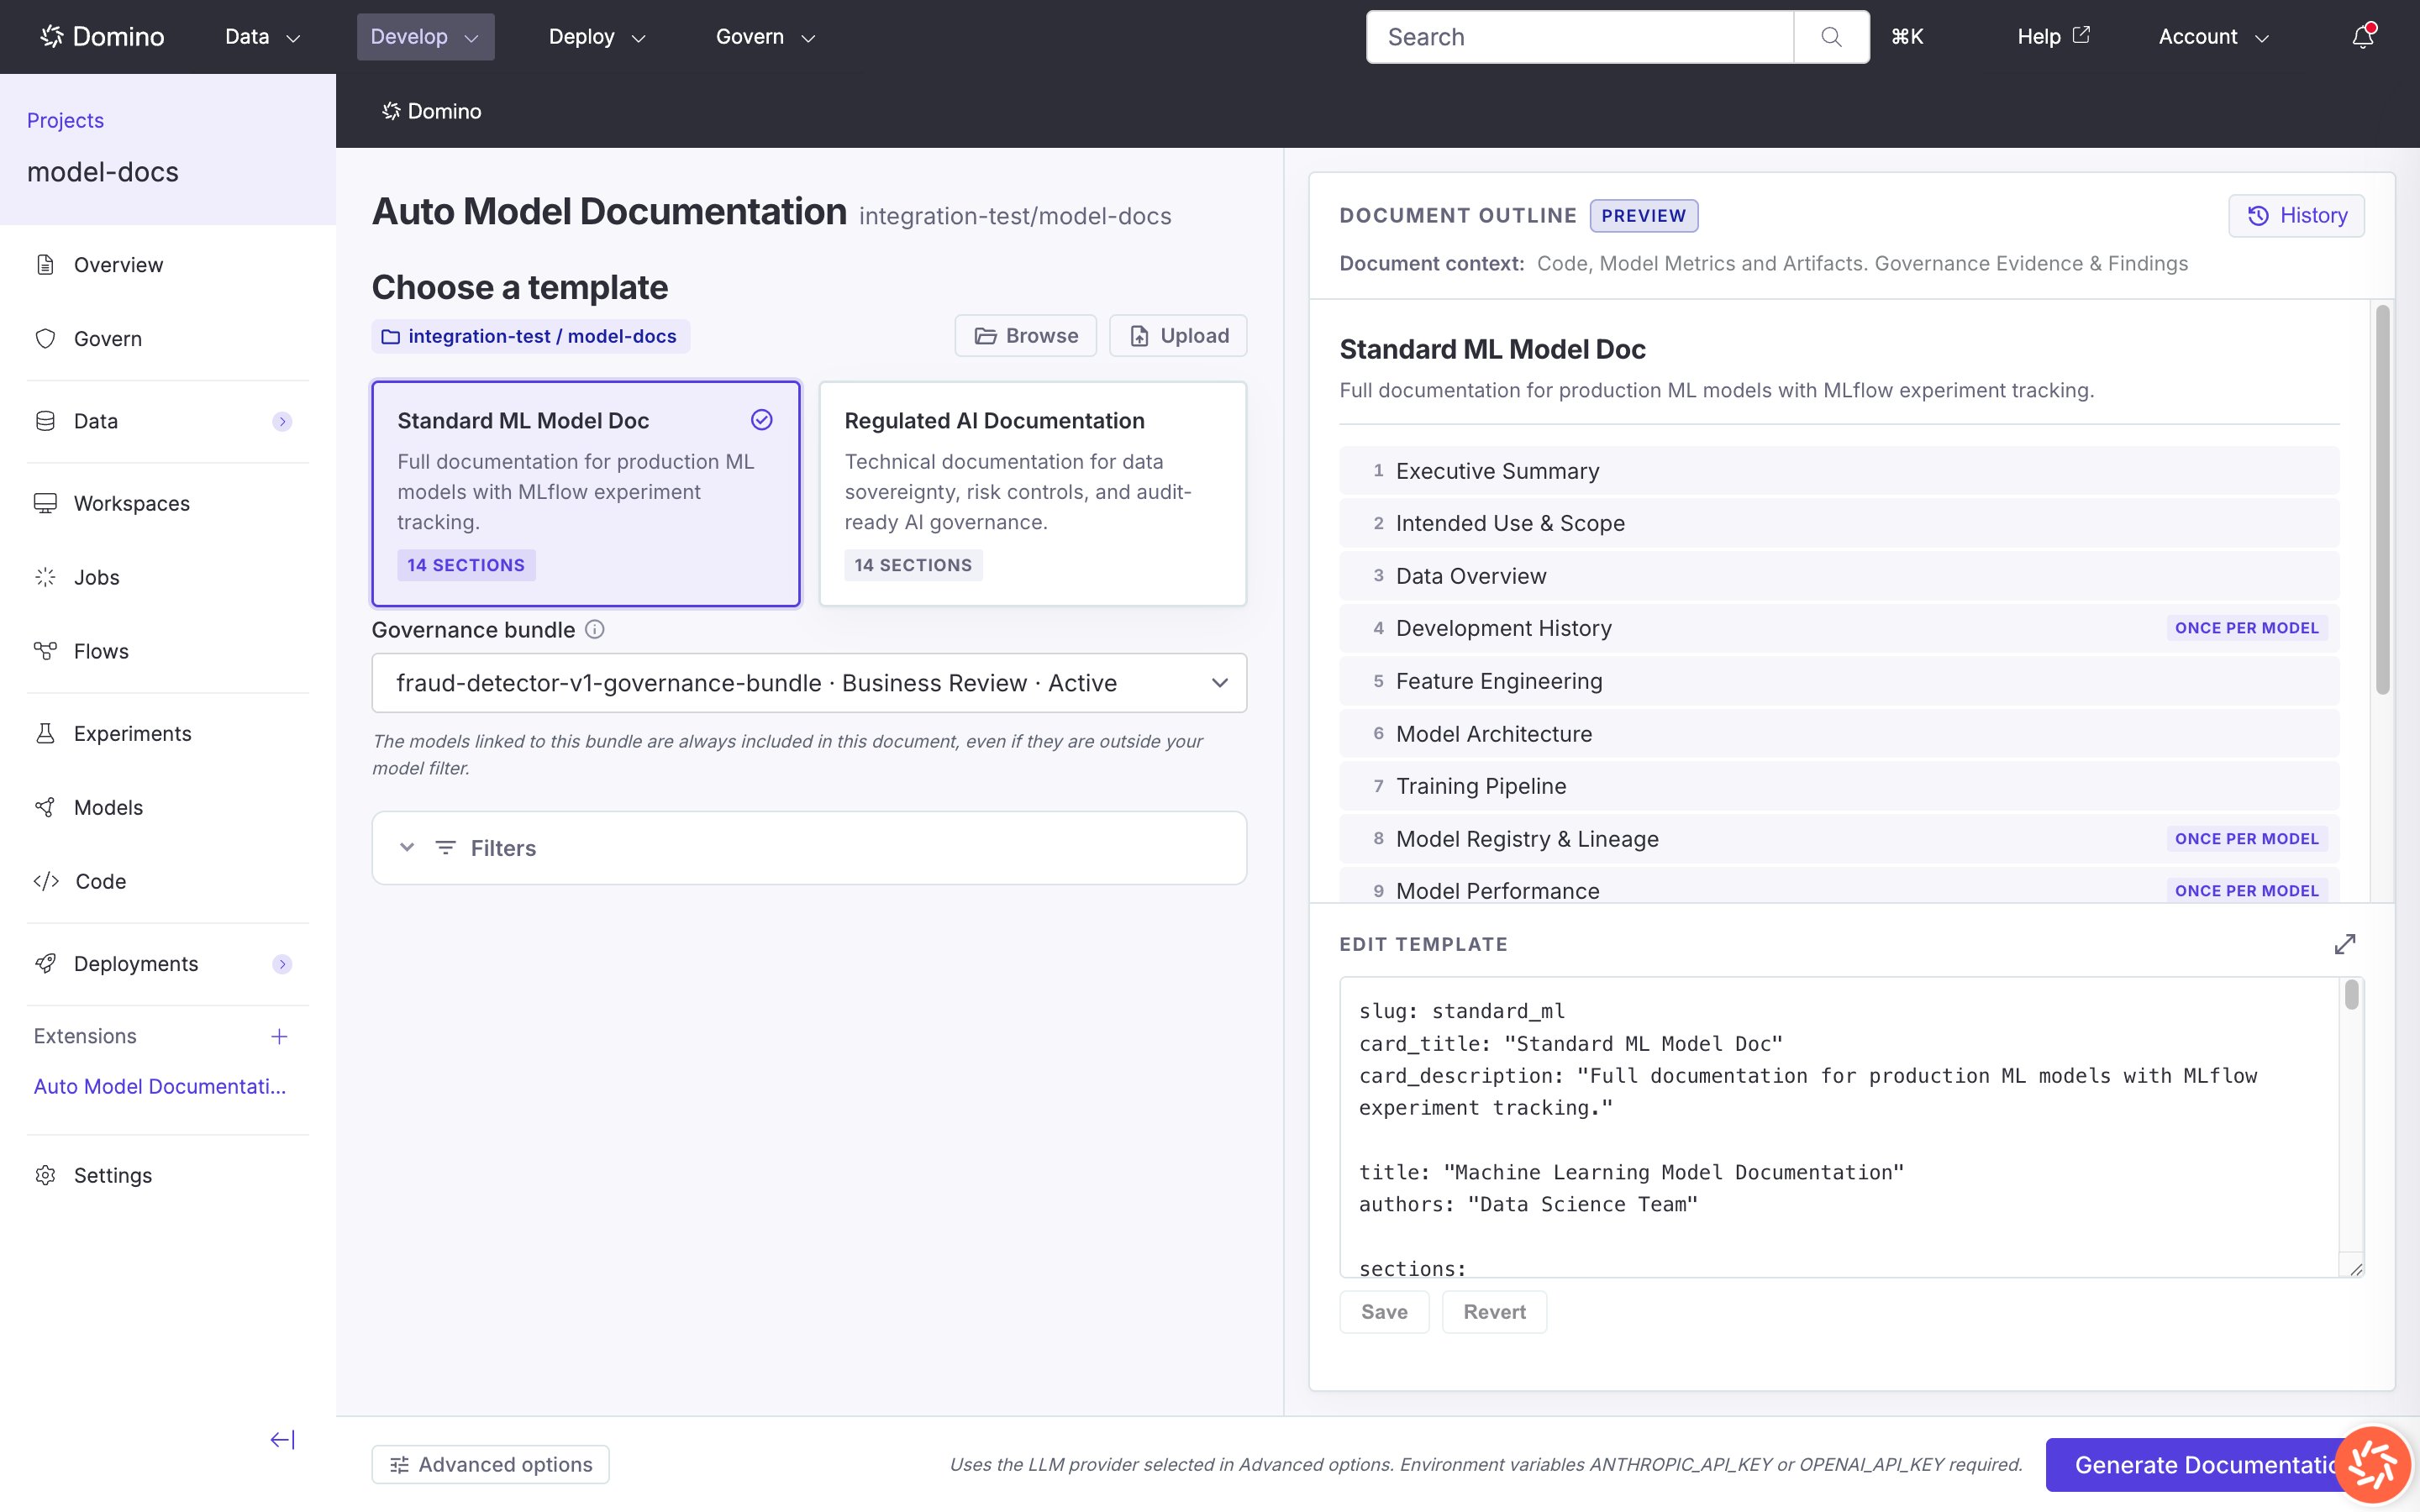
Standard ML template selected with document outline
.yaml or .yml file, or Edit the selected template’s YAML inline and Save or Revert.
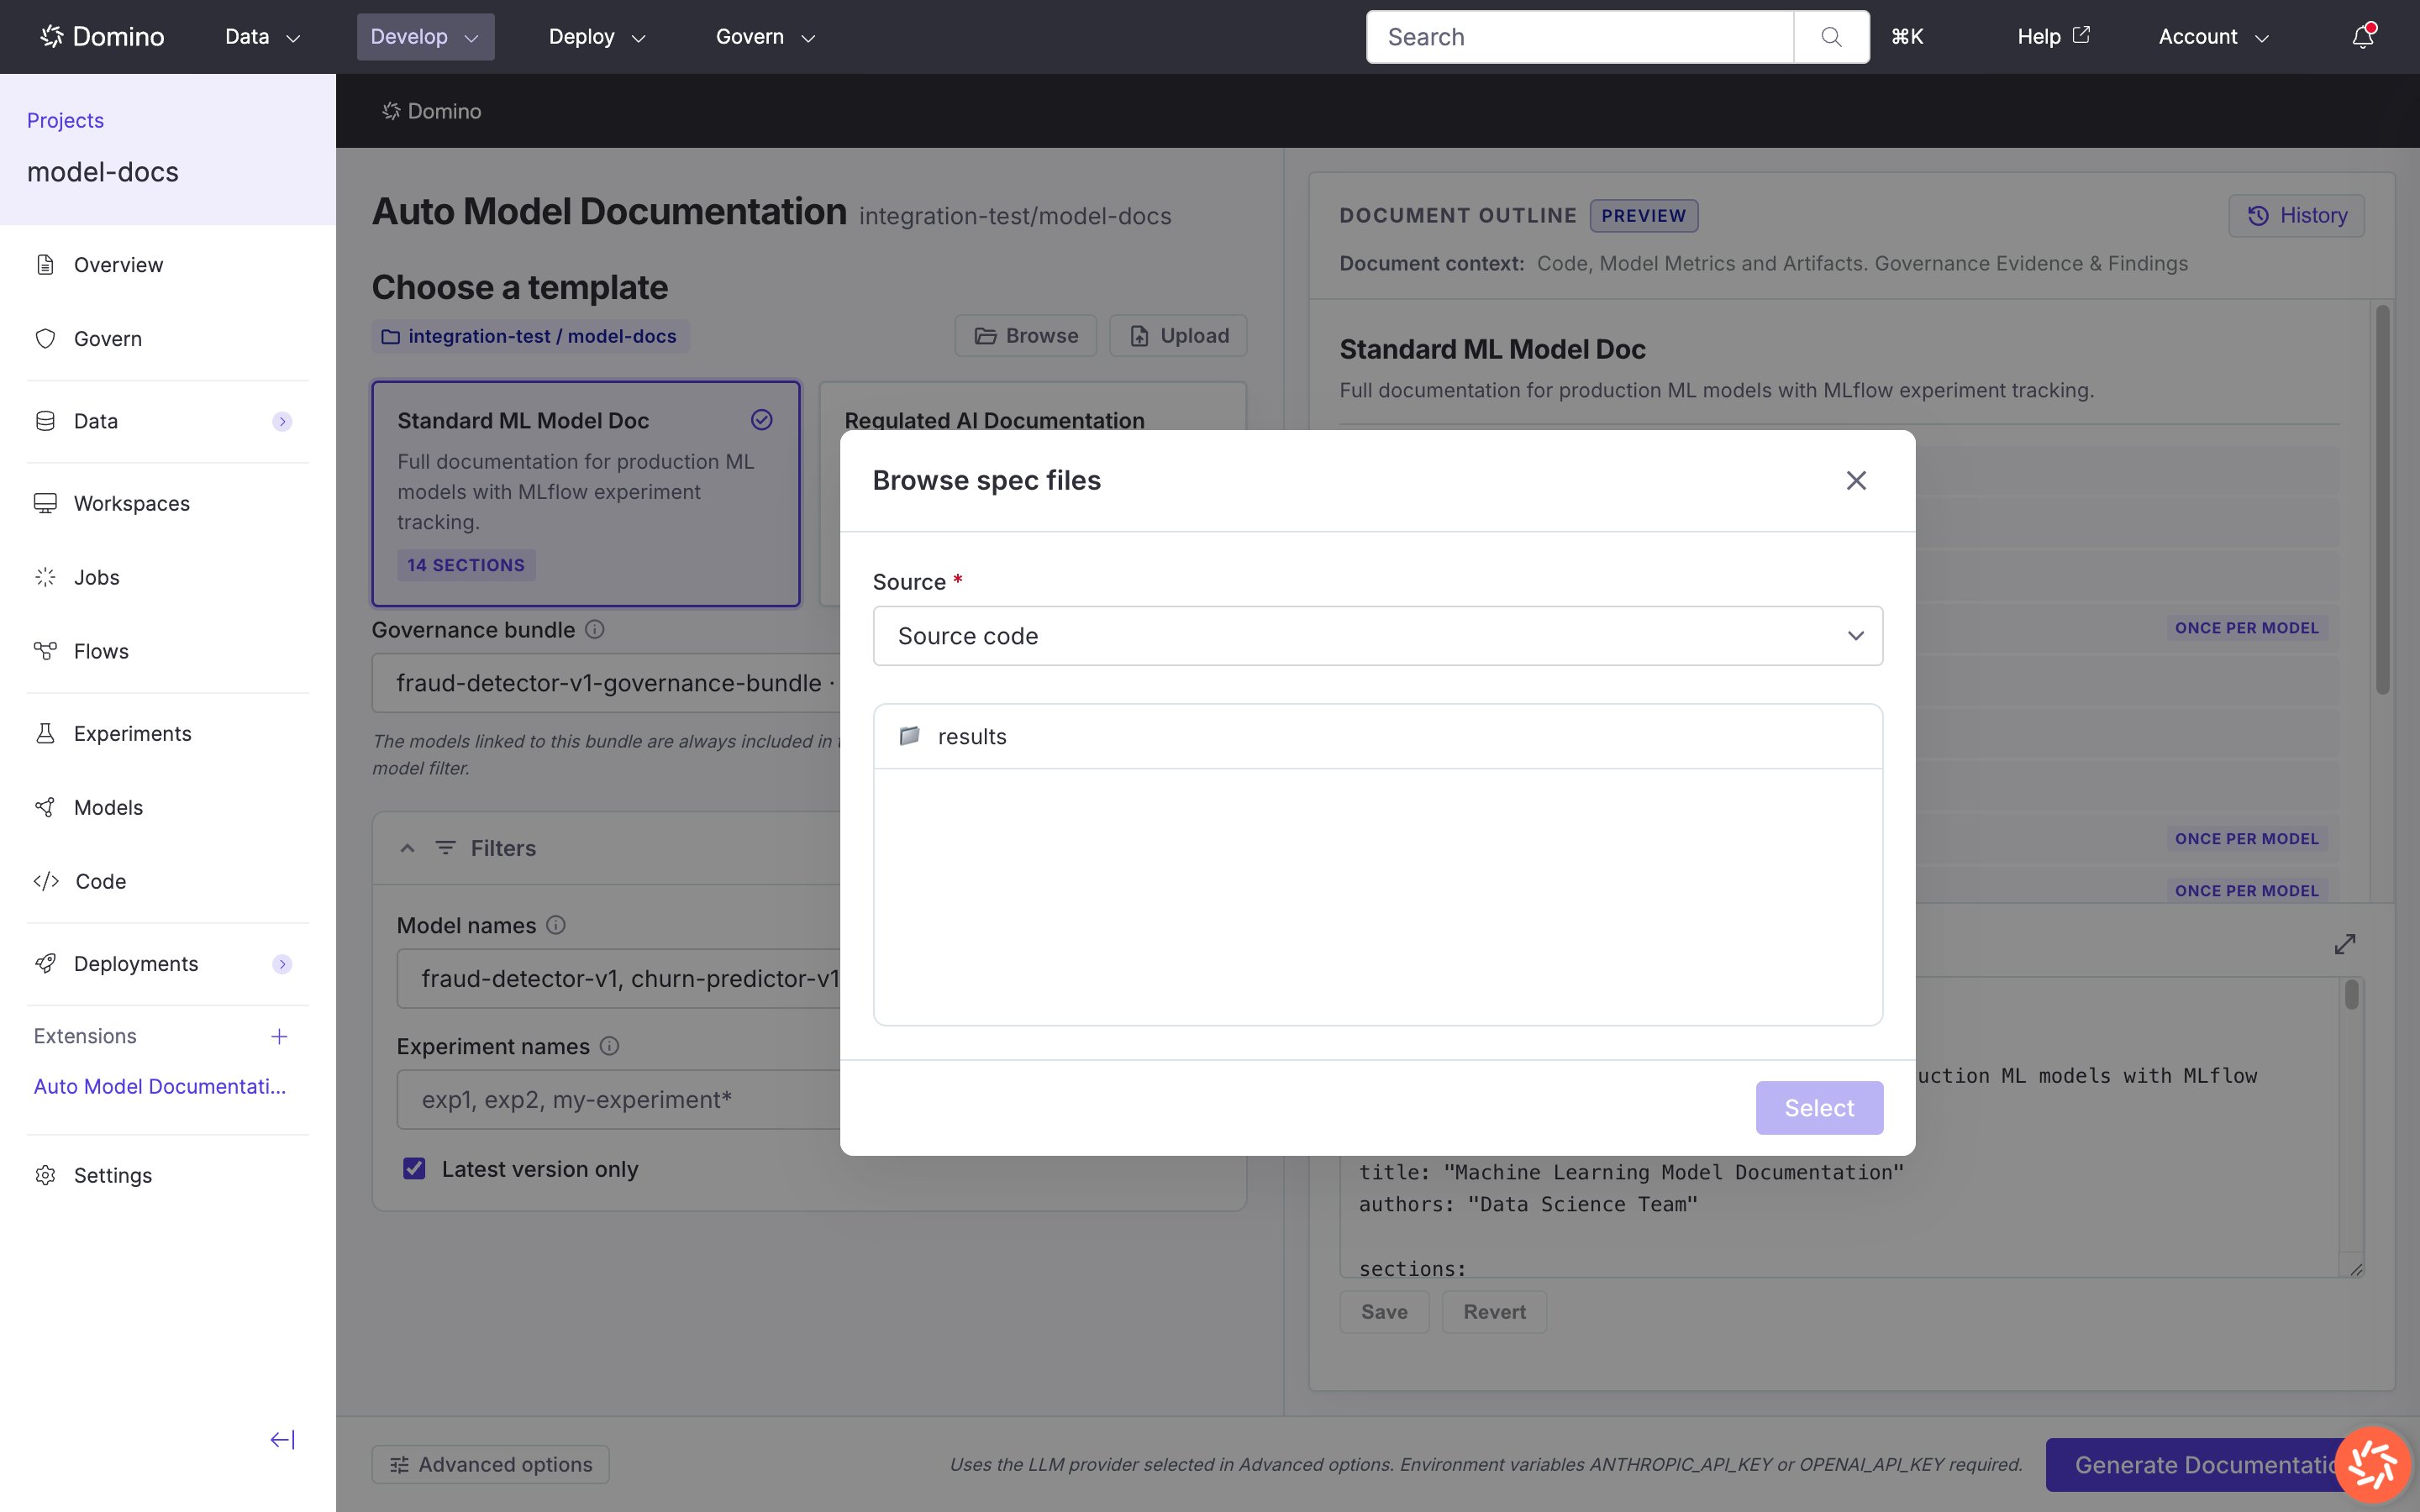
Browse spec files modal
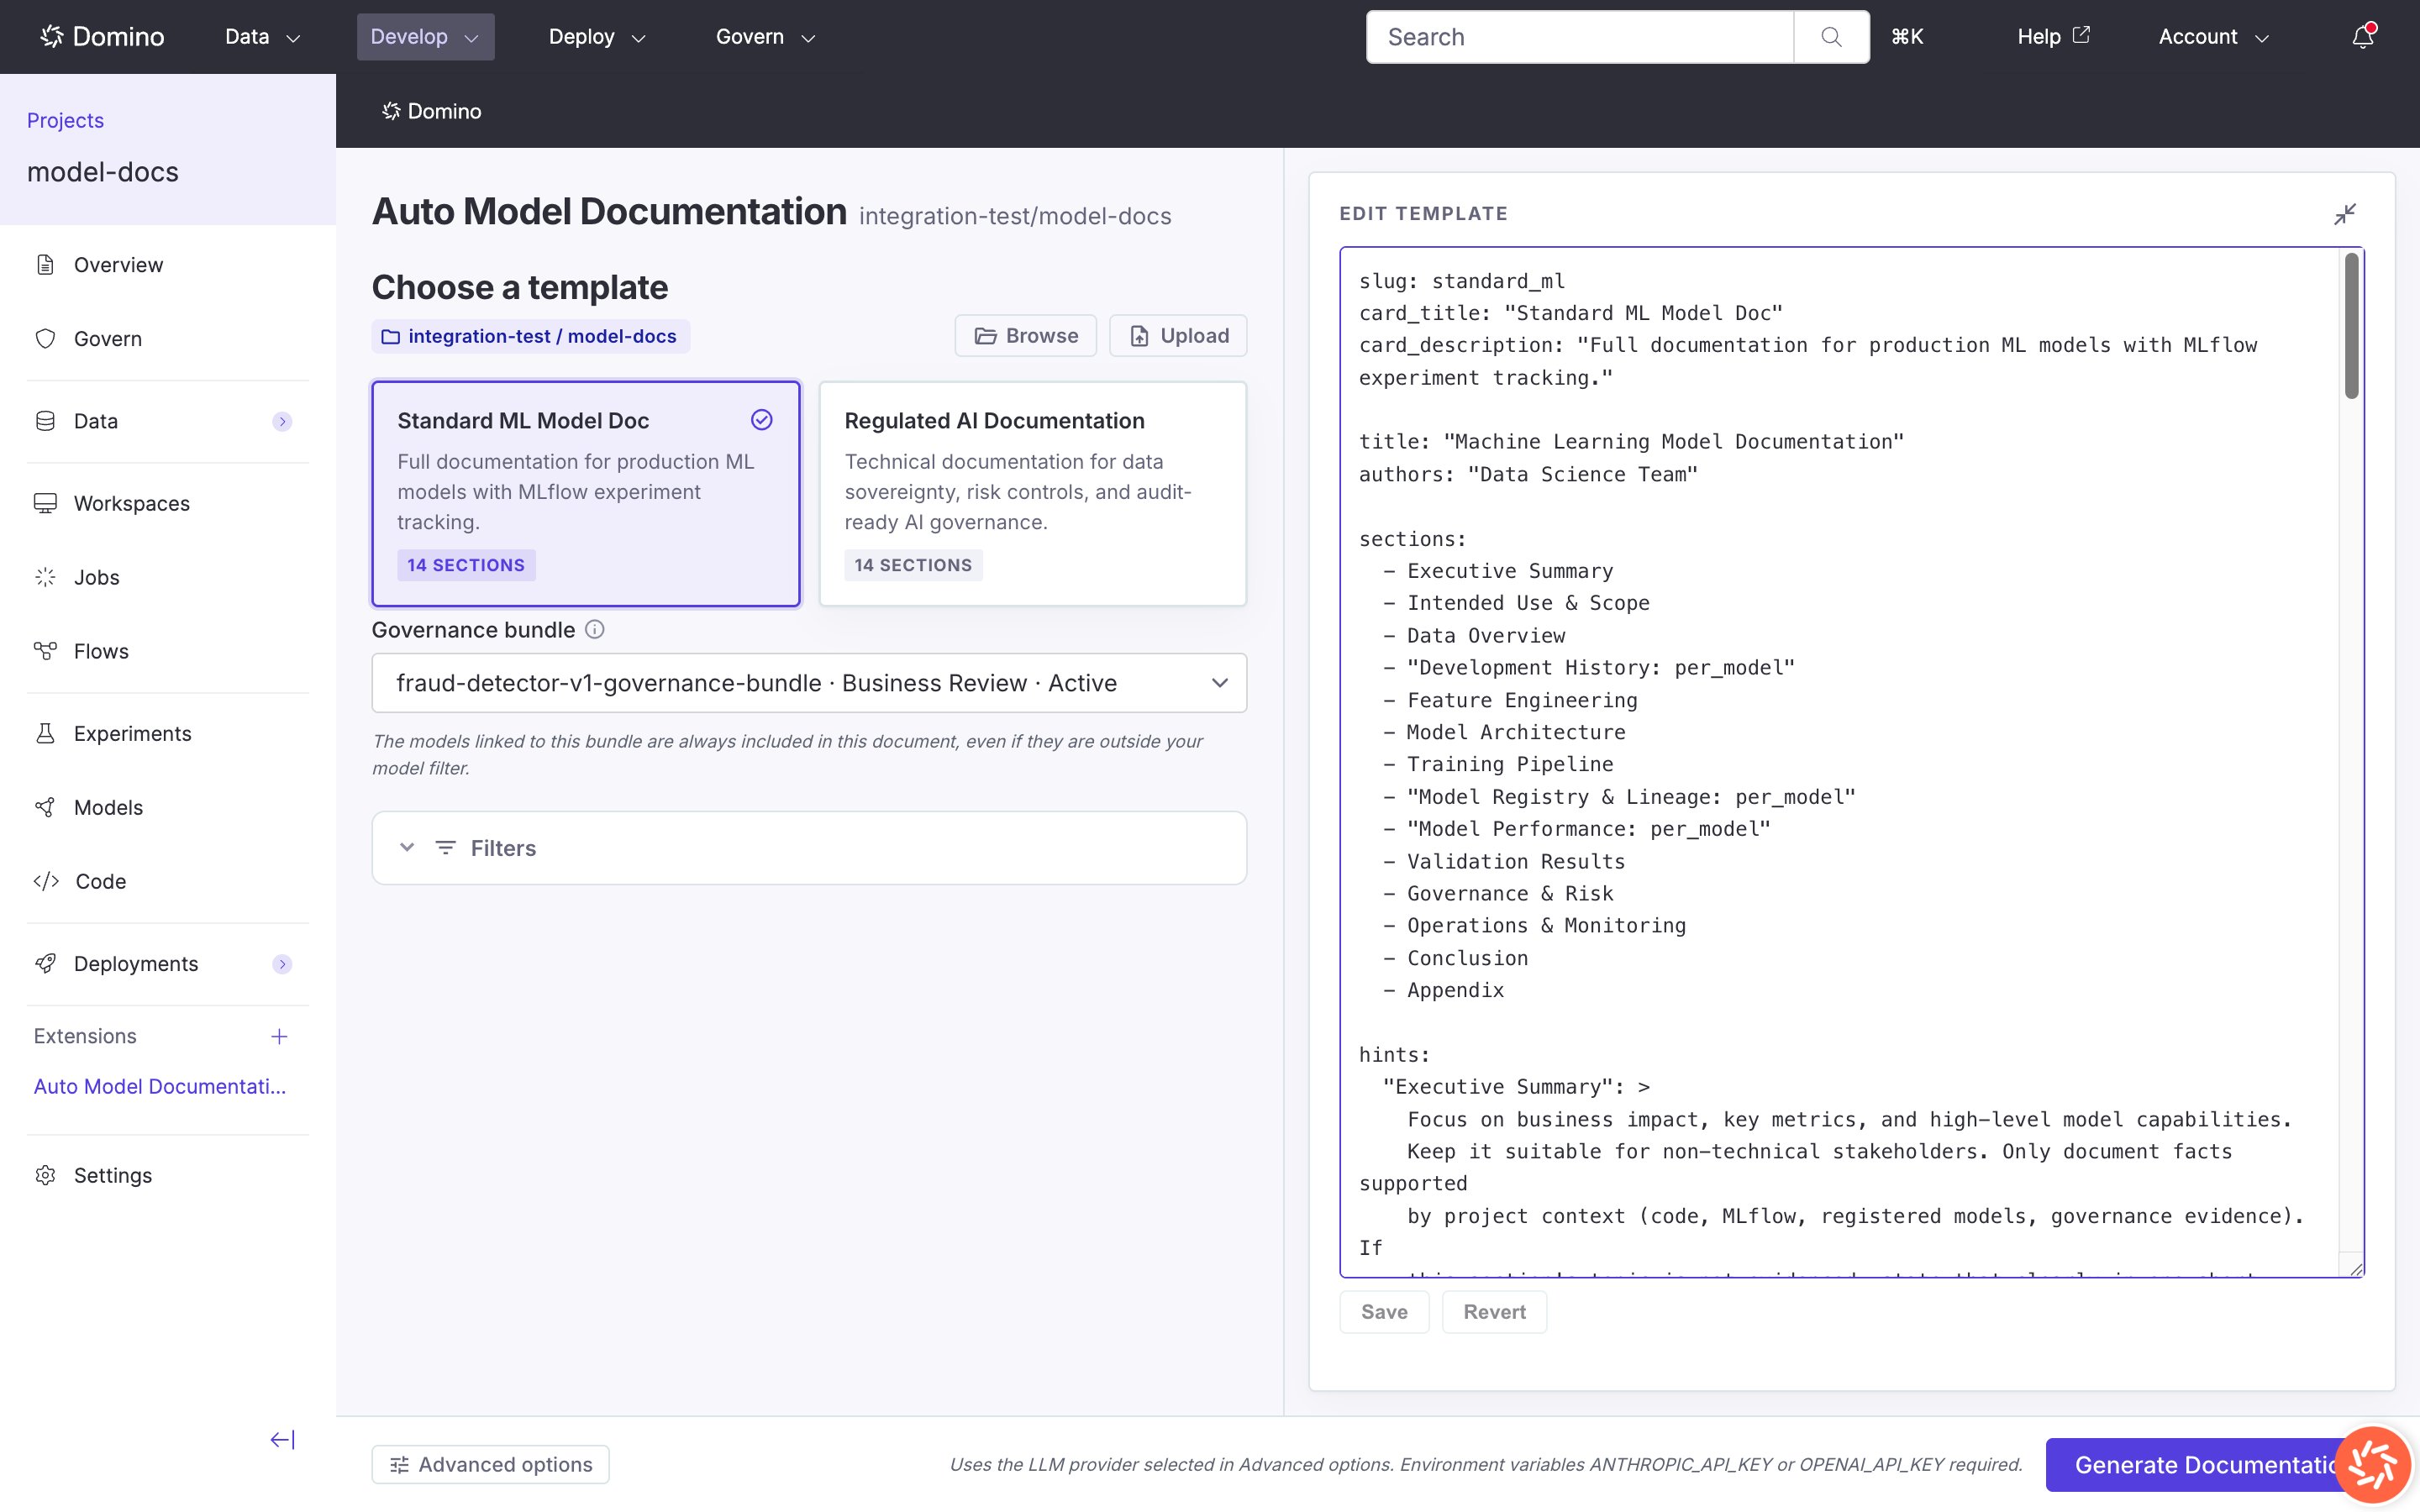
Inline template YAML editor
Filters
Expand Filters to narrow which models and experiments are included:
Leave filters empty to include all models and experiments the scanner can access.
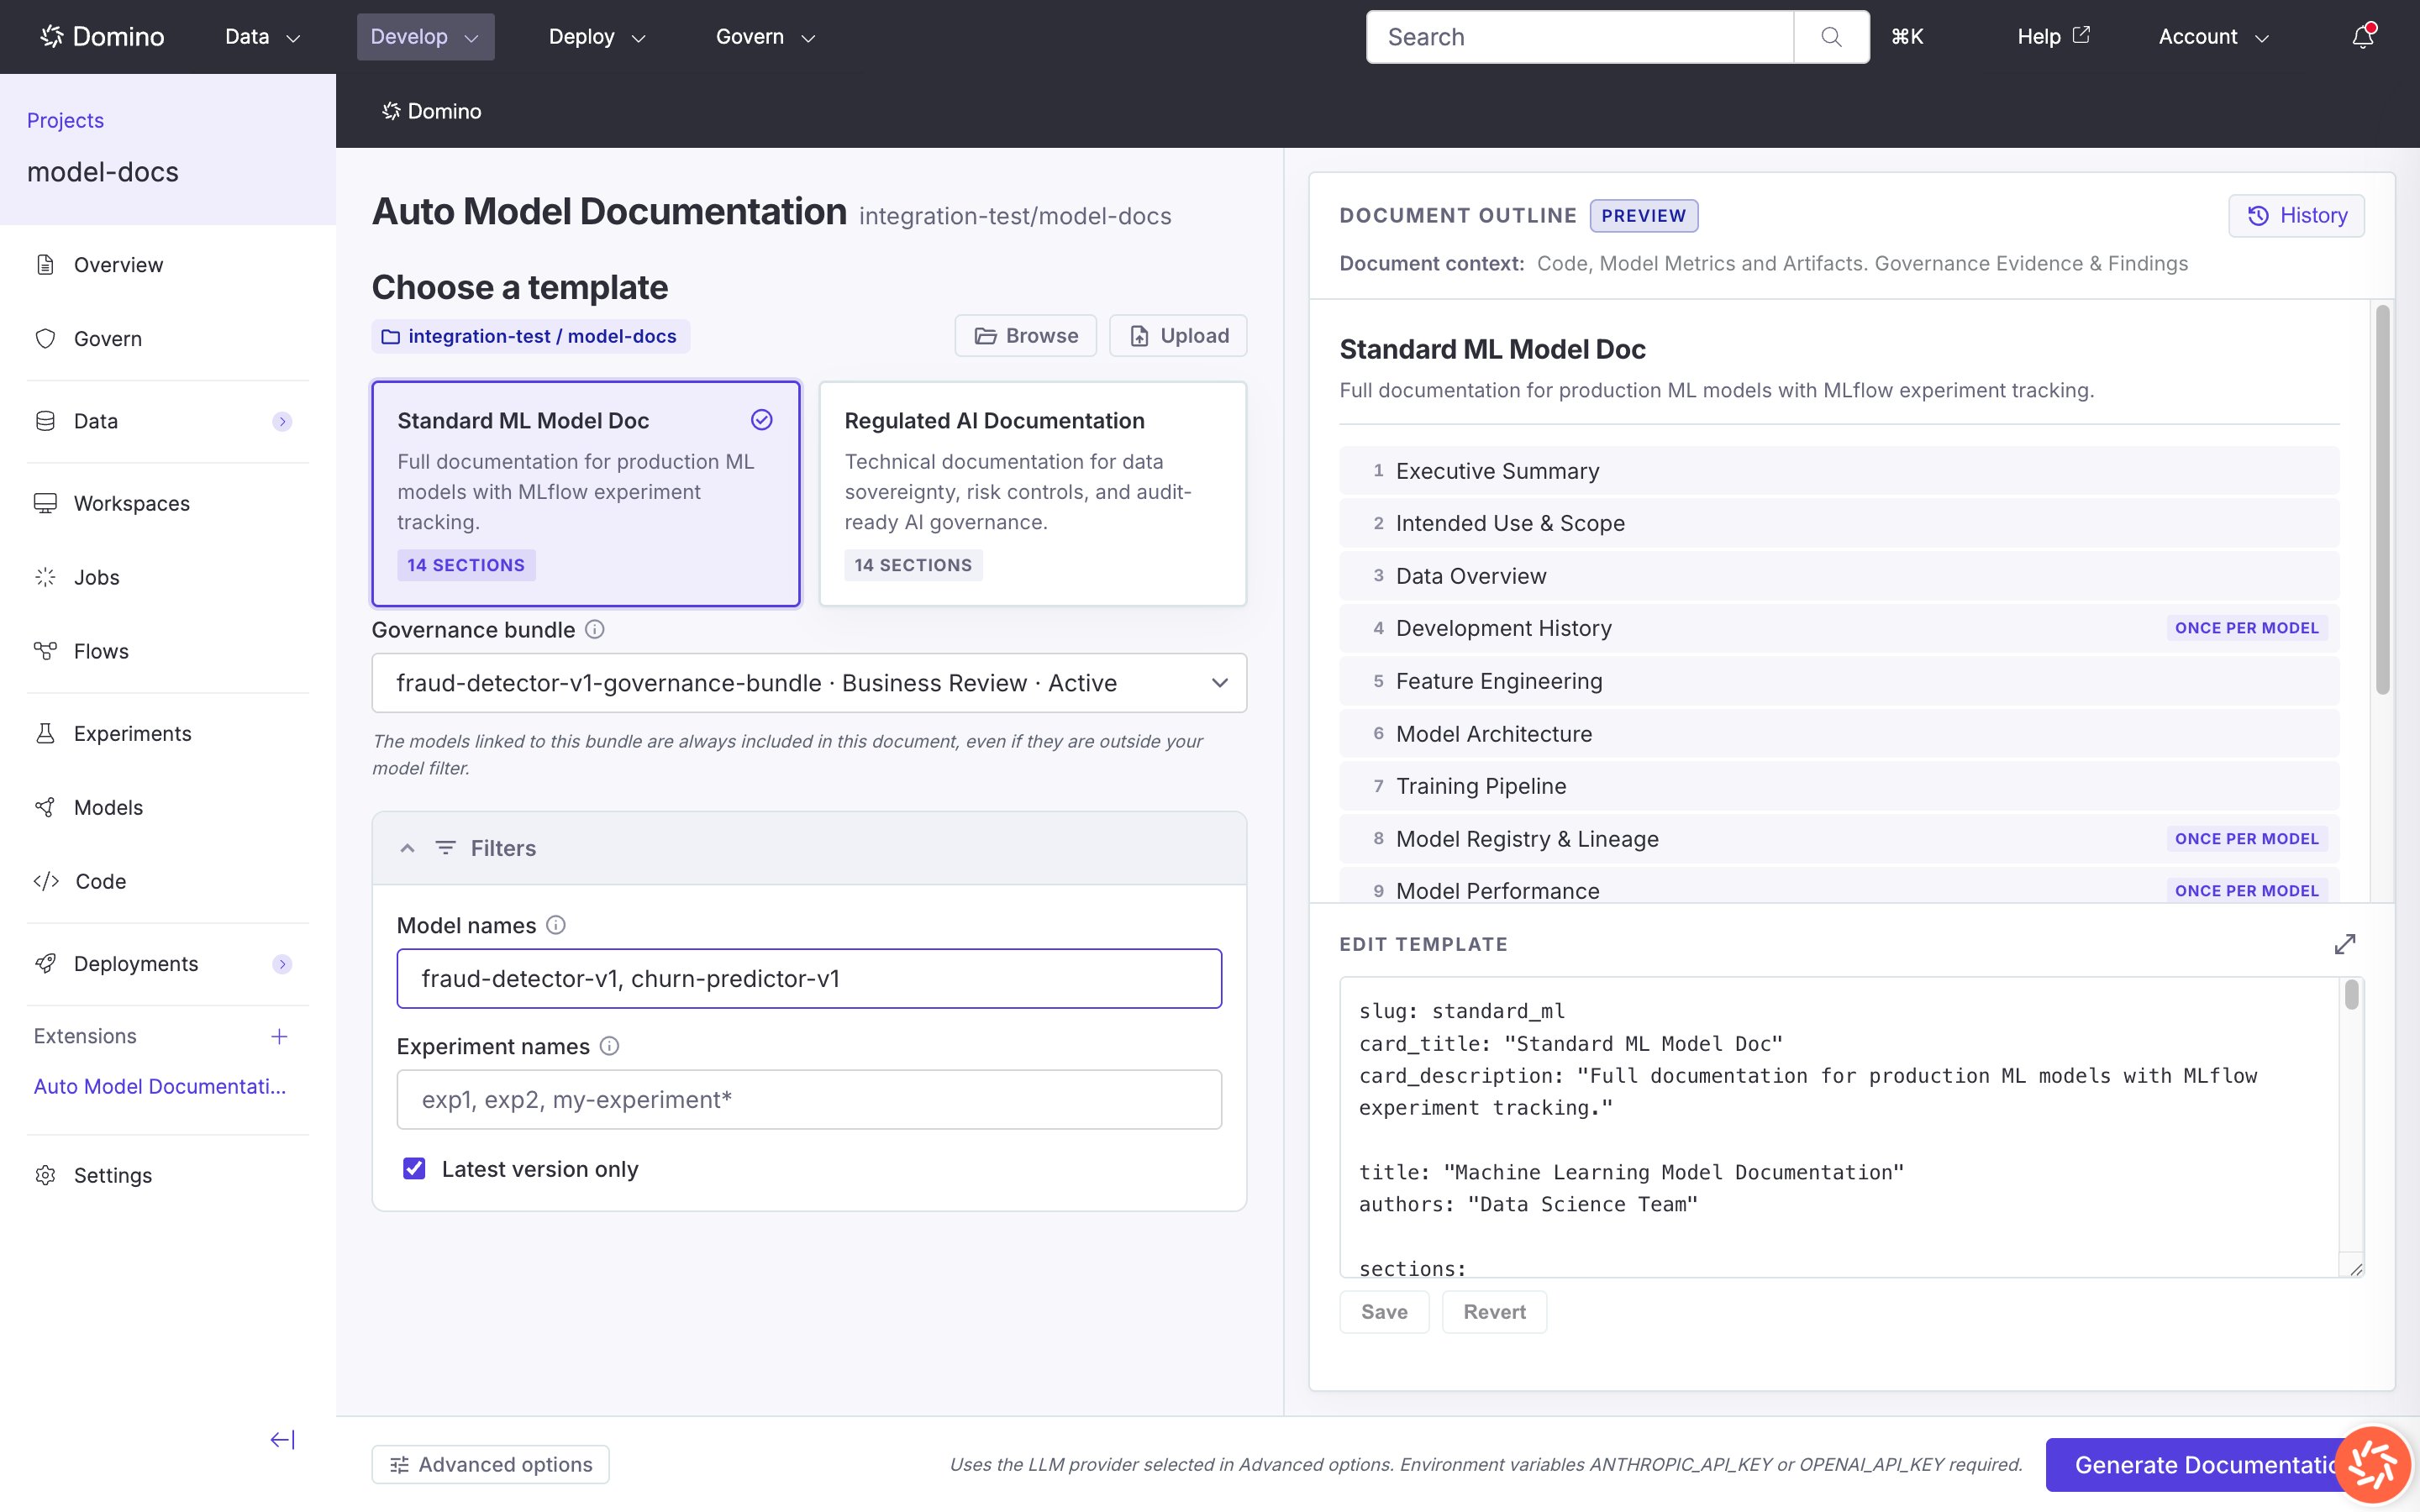
Filters expanded
Advanced options
Click Advanced options to configure the Domino job and LLM settings:
Default models:
To use a different model, enter its name in the Model field. See the Anthropic Models overview and the OpenAI Models reference for current names and availability. For OpenAI-compatible gateways, use the model names that gateway exposes.
The footer notes that
ANTHROPIC_API_KEY or OPENAI_API_KEY must be available to the job environment.
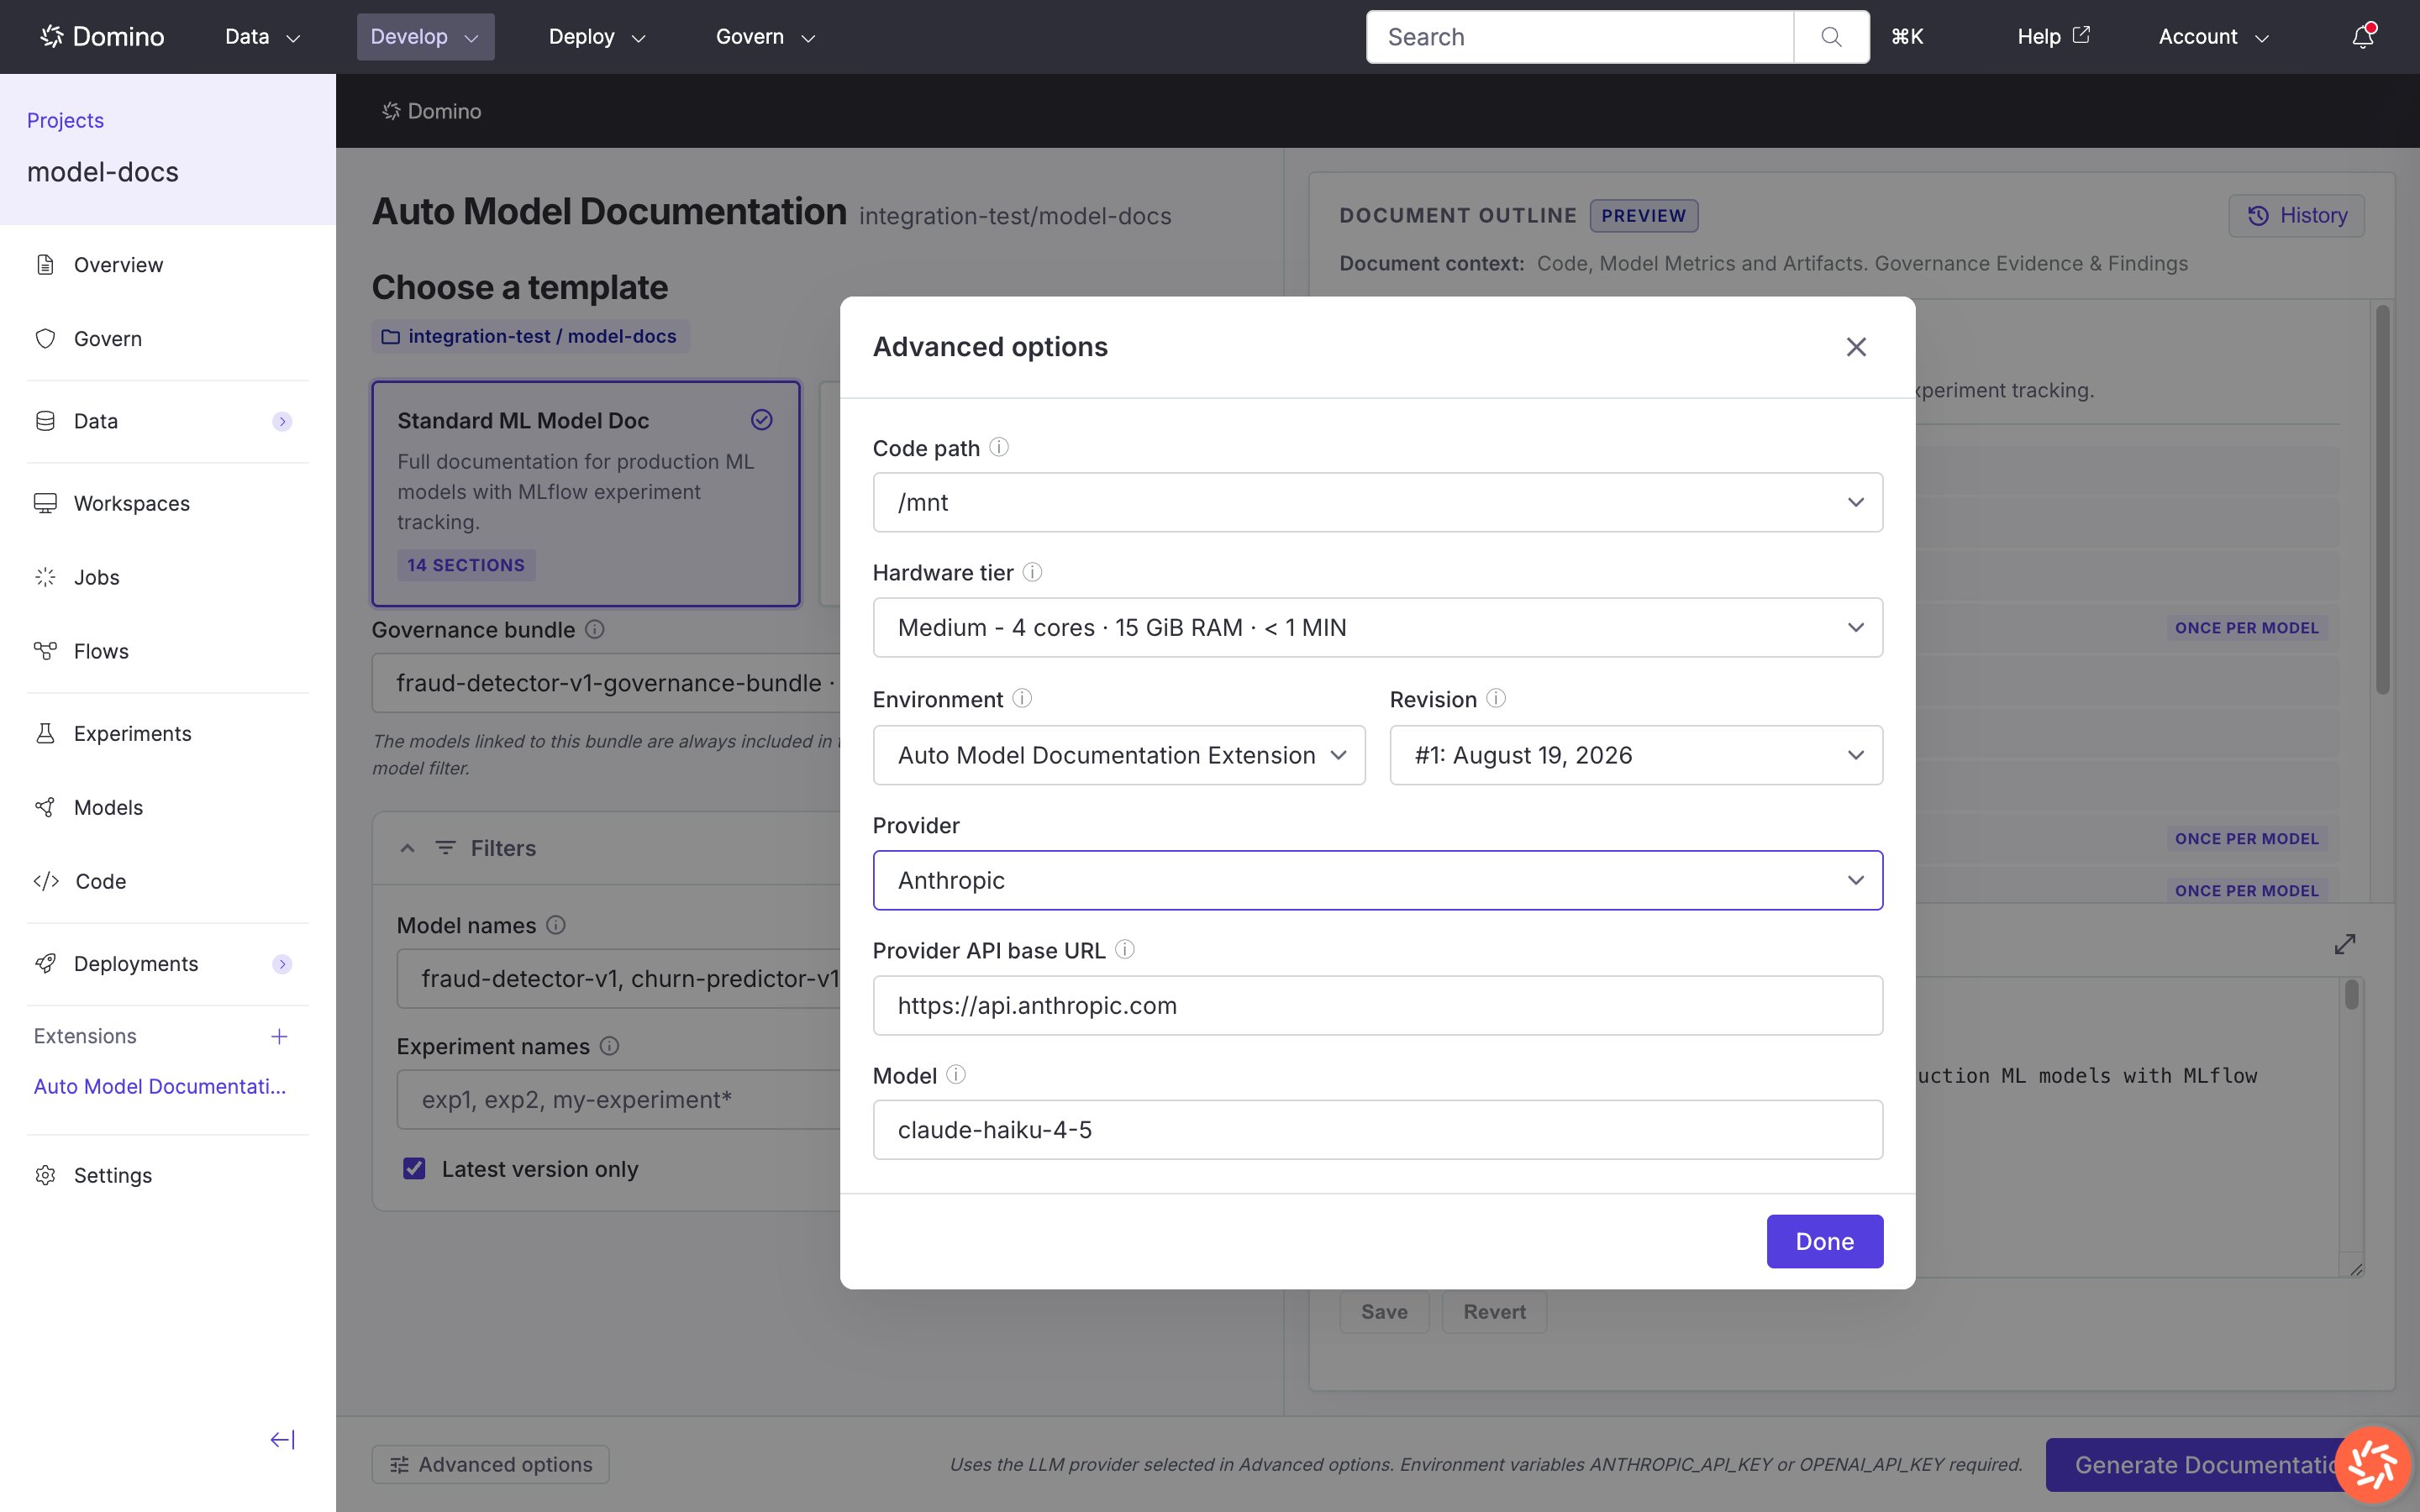
Advanced options with Anthropic provider selected
Step 2: Results
While the job runs, status updates appear in the results panel. Open History (top right of the outline panel) to see past runs.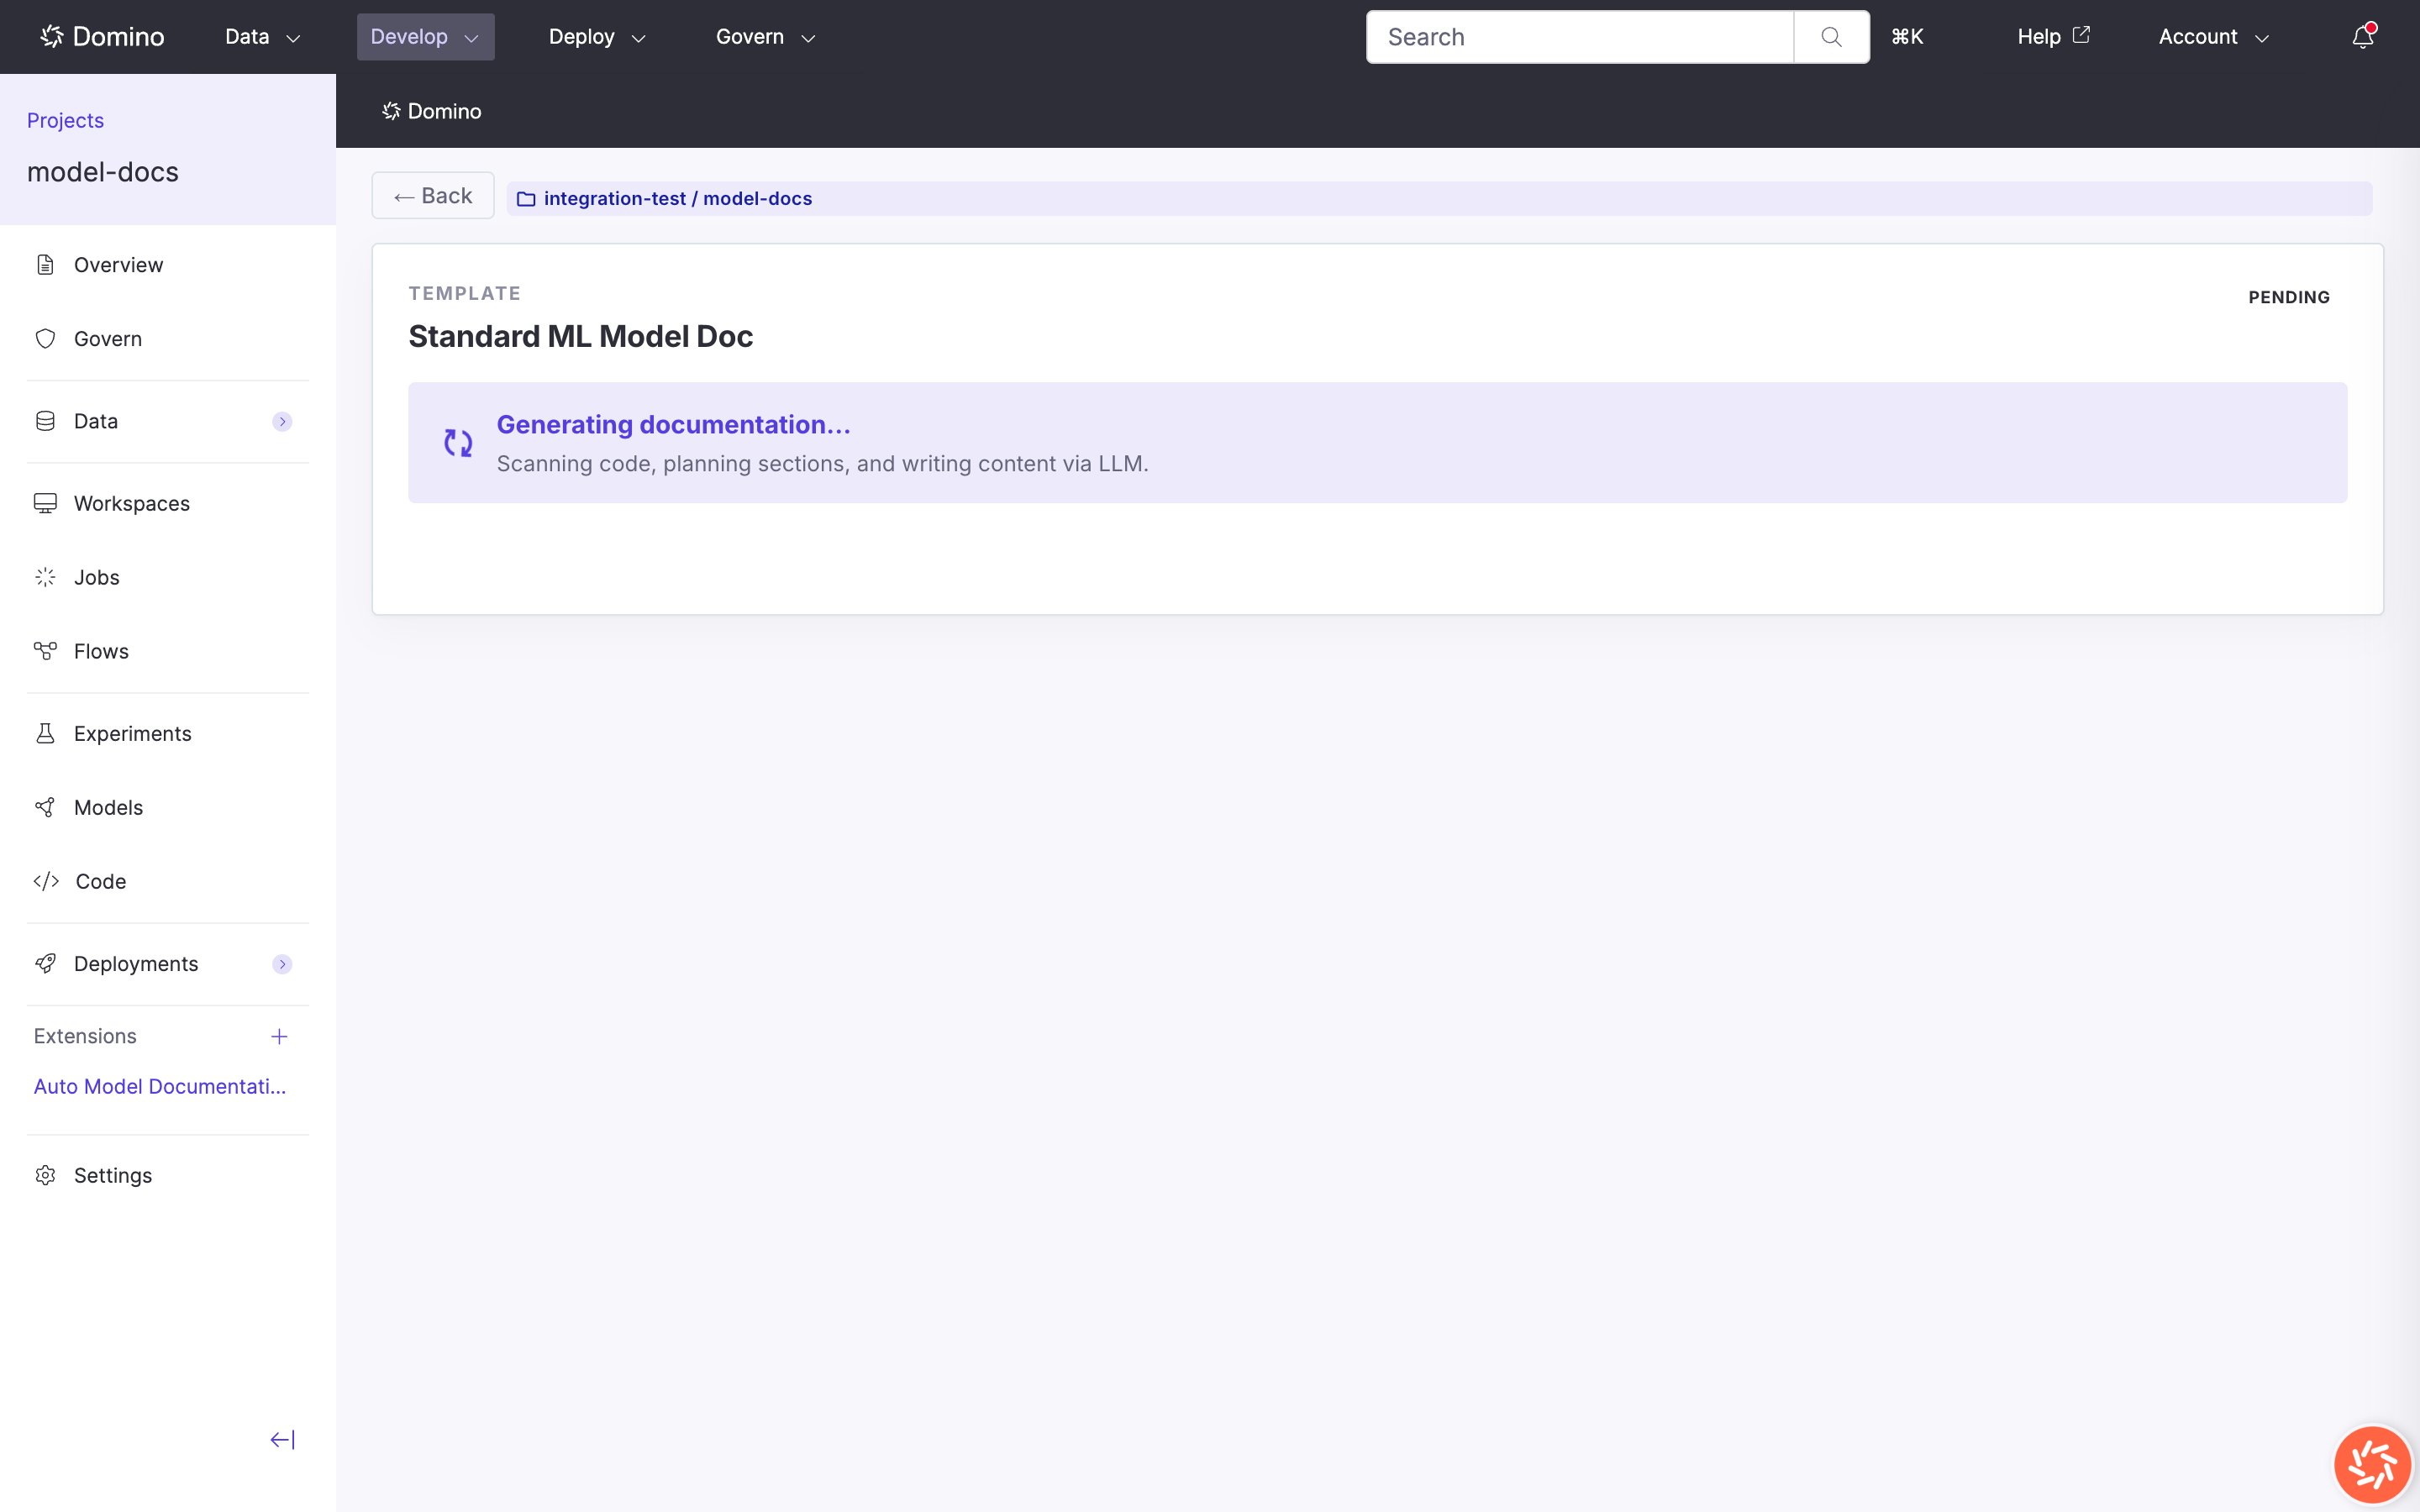
Results view while documentation is generating
- A success banner appears.
- Document Preview loads an HTML preview of the generated Word document.
- Download links open the
.docxfile and job artifacts in Domino.
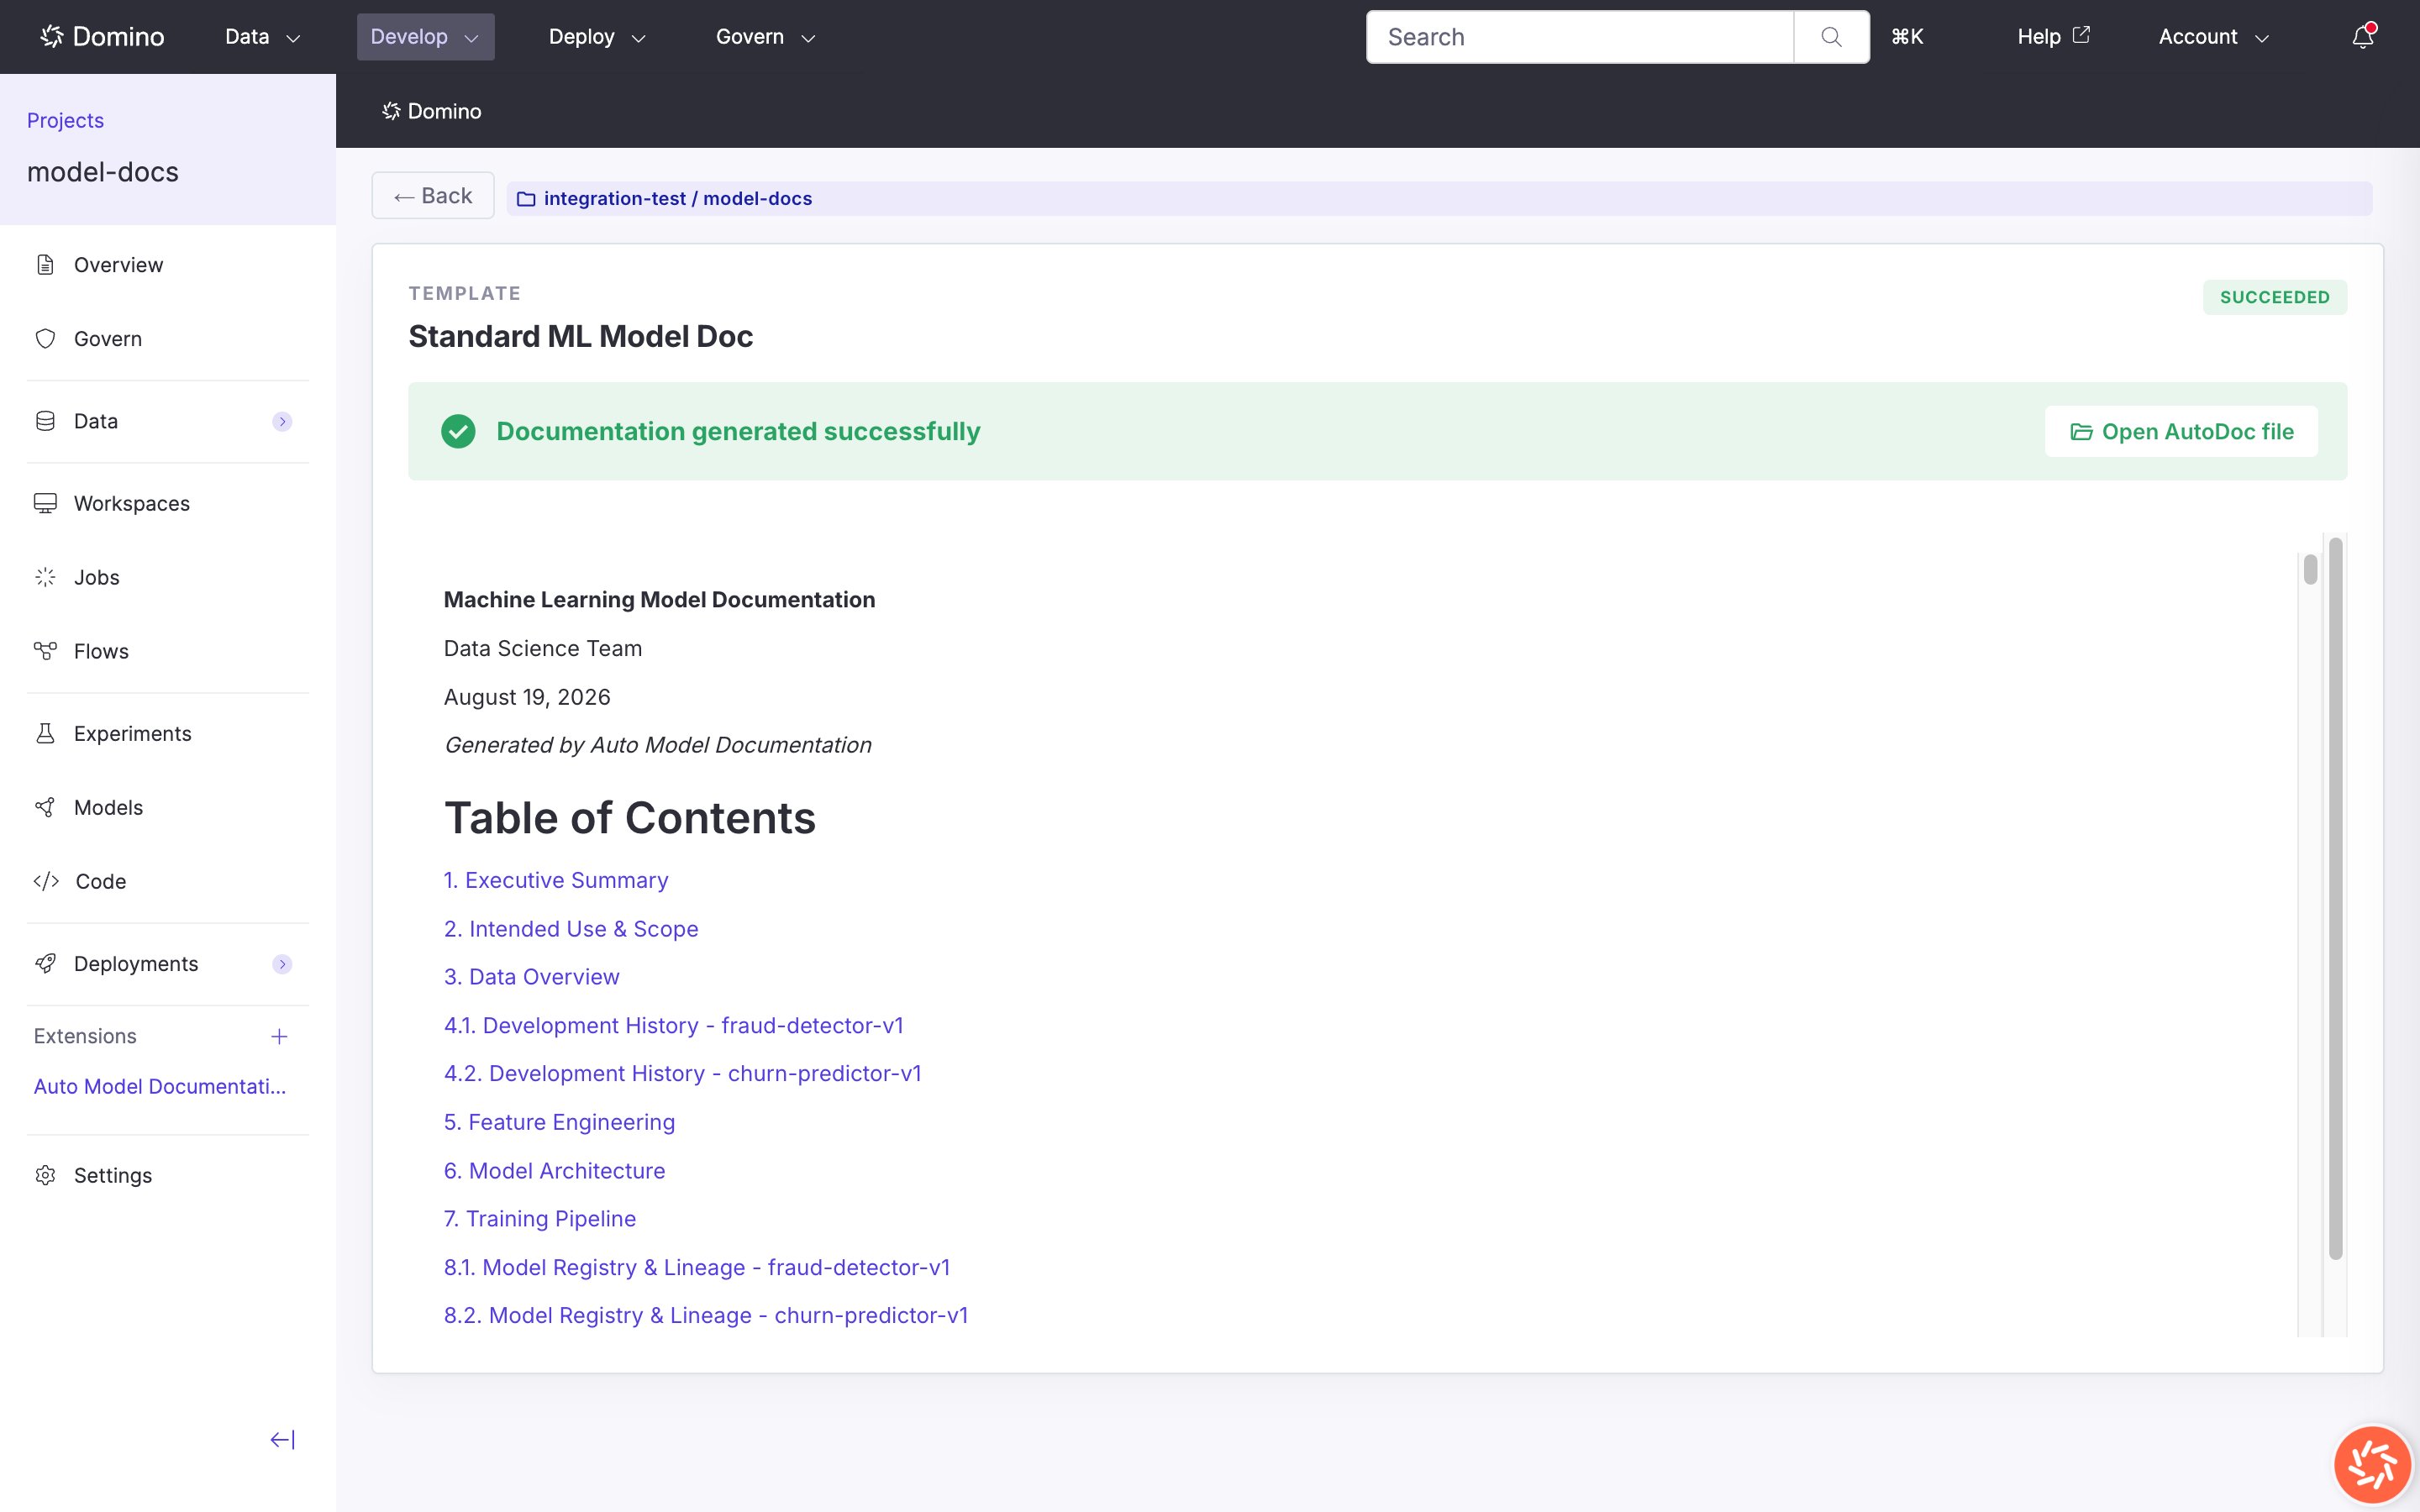
Document preview of generated output
Tips for better output
Templates and specs
Documentation structure is defined by spec files: YAML documents that list sections, titles, and per-section hints for the LLM. Templates in the gallery are synced to your project’s autodoc dataset on first load. Edits in the Studio save to the dataset copy.Spec file structure
: per_model to a section name to generate one subsection per matching registered model:
hints map keys must match section names (without the : per_model suffix). Hints can include evidence gates so the generator only states metrics, compliance claims, or governance status that are supported by source material.
Specs live in the project’s autodoc dataset. Use Browse to pick specs from other datasets.
Supported code languages
The scanner reads source files for the following languages:
Files matching test directories, virtual environments, and other exclude patterns are skipped. Binary files are skipped. README content (truncated) is read when present.
Citations
Generated prose cites its sources inline so a reviewer can trace any claim back to the artifact it came from. Citations appear as bracketed labels in the document body and resolve to entries in a References section. Citation types:
In the rendered Word document, an inline citation shows as a short label (for example,
[train_churn.py · fit model] or [Risk tier: High]) and links to a full entry in the References section. Model run citations include the experiment and run name. Artifact citations include the artifact filename. Governance citations include the bundle name and short id.
The Governance & Risk section quotes risk tier, validation status, approval state, and open findings verbatim from the selected bundle’s evidence, each with its citation. Other sections leave governance status to the Governance & Risk section rather than restating it.
Governance bundles
When your Domino project uses Governance, the Studio can load bundle evidence and findings so governance sections reflect your governed model of record.Selecting a bundle
The Governance bundle field appears when the project has at least one bundle you can access. Review the pre-selected bundle, or choose another.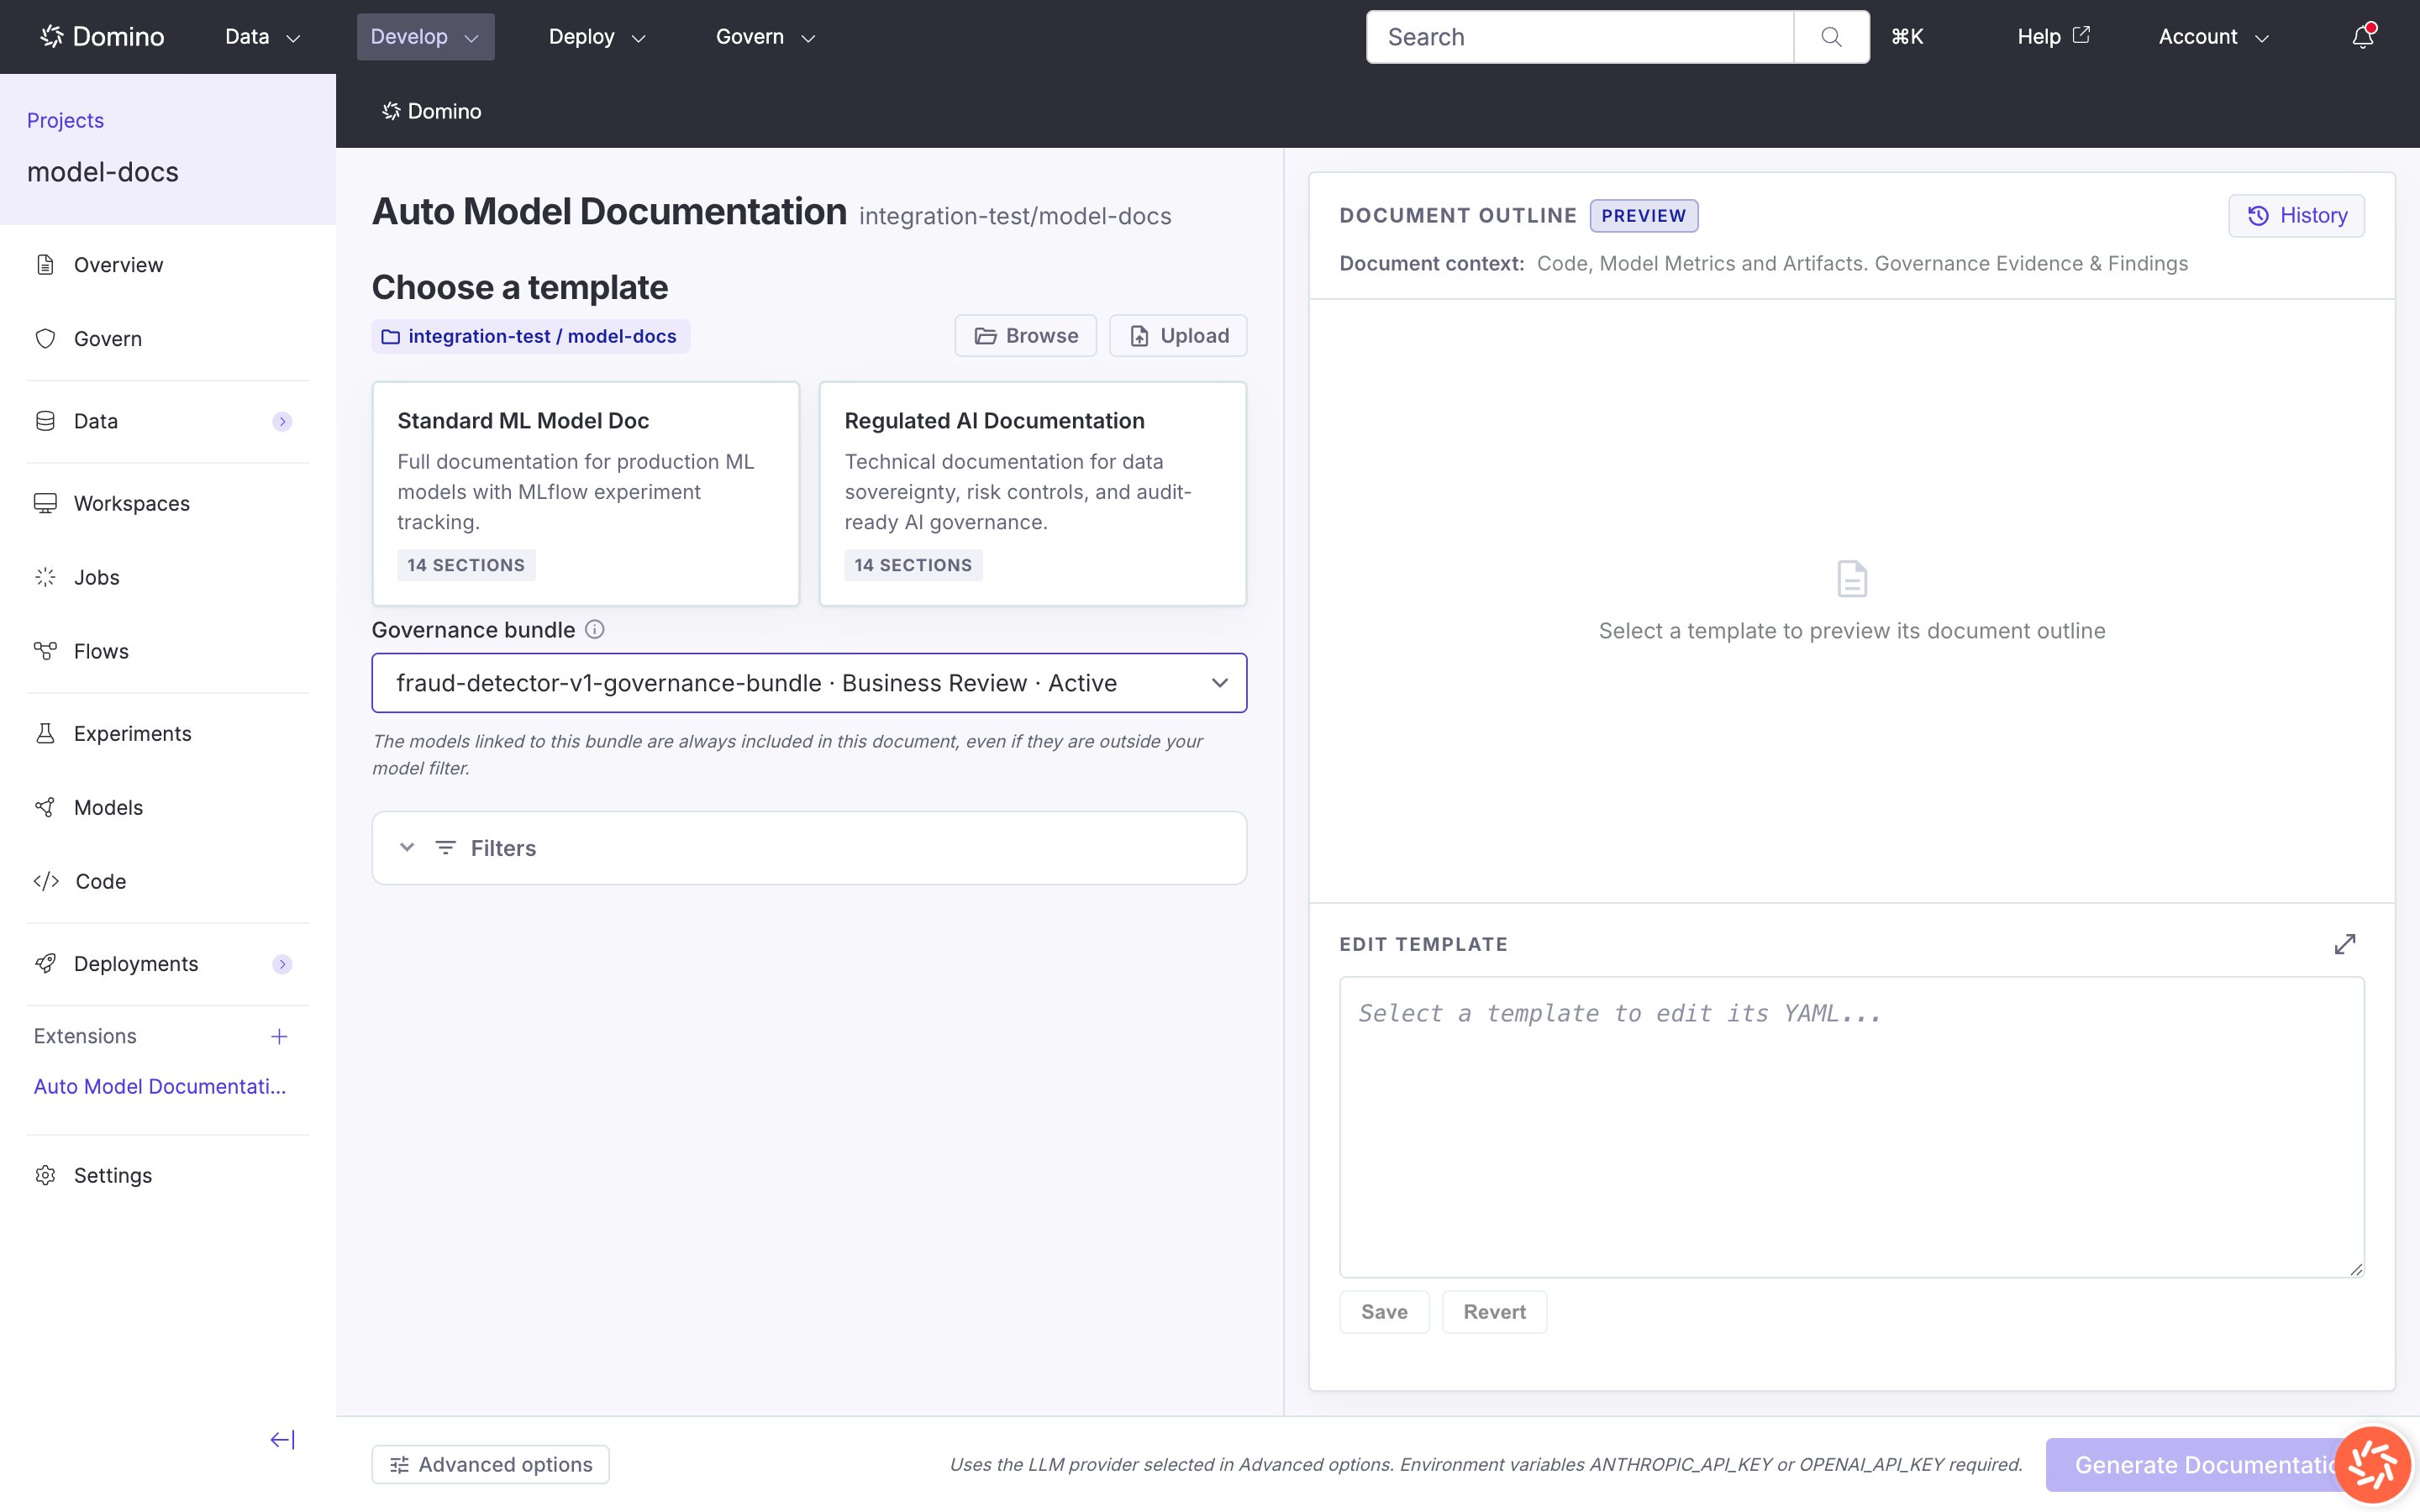
Governance bundle selector
What governance data is used
For the selected bundle, the pipeline reads policy and evidence attachments and open findings. Governance-oriented sections (for example, Governance & Risk) use this material. Other sections still draw primarily from code and model metrics.Evidence boundaries
Templates guide the LLM to state risk tier, approval state, compliance certifications, and fairness metrics only when evidence supports them. When evidence is thin, expect shorter sections that state what could not be assessed. Development History describes model candidates explored during development. Governance & Risk describes the bundle-linked governed model. The templates keep that distinction explicit so a development candidate is never read as a governed model of record.Outputs and history
Output files
Primary output:model_docs.docx at:
<run-id> is the first eight characters of the Domino job run ID. Jobs also generate a Jupyter notebook in the same folder, named model_docs.ipynb.
The notebook output
The.ipynb file is the editable counterpart of the Word document. Each section is a cell, so you can revise wording, add commentary, or drop in extra analysis before re-exporting. Run the export cell the to rebuild the .docx file, so the Word file stays in sync with your edits instead of being regenerated from scratch.
Use the notebook when you want to hand-edit content while keeping the citation structure and References section intact. Use the .docx directly when the generated draft is good enough.
Access outputs
From the Studio after a successful run:- Document Preview in the results view.
- Download or Open links for the
.docx. - History for past runs (View logs, Open in dataset, Preview completed documents).
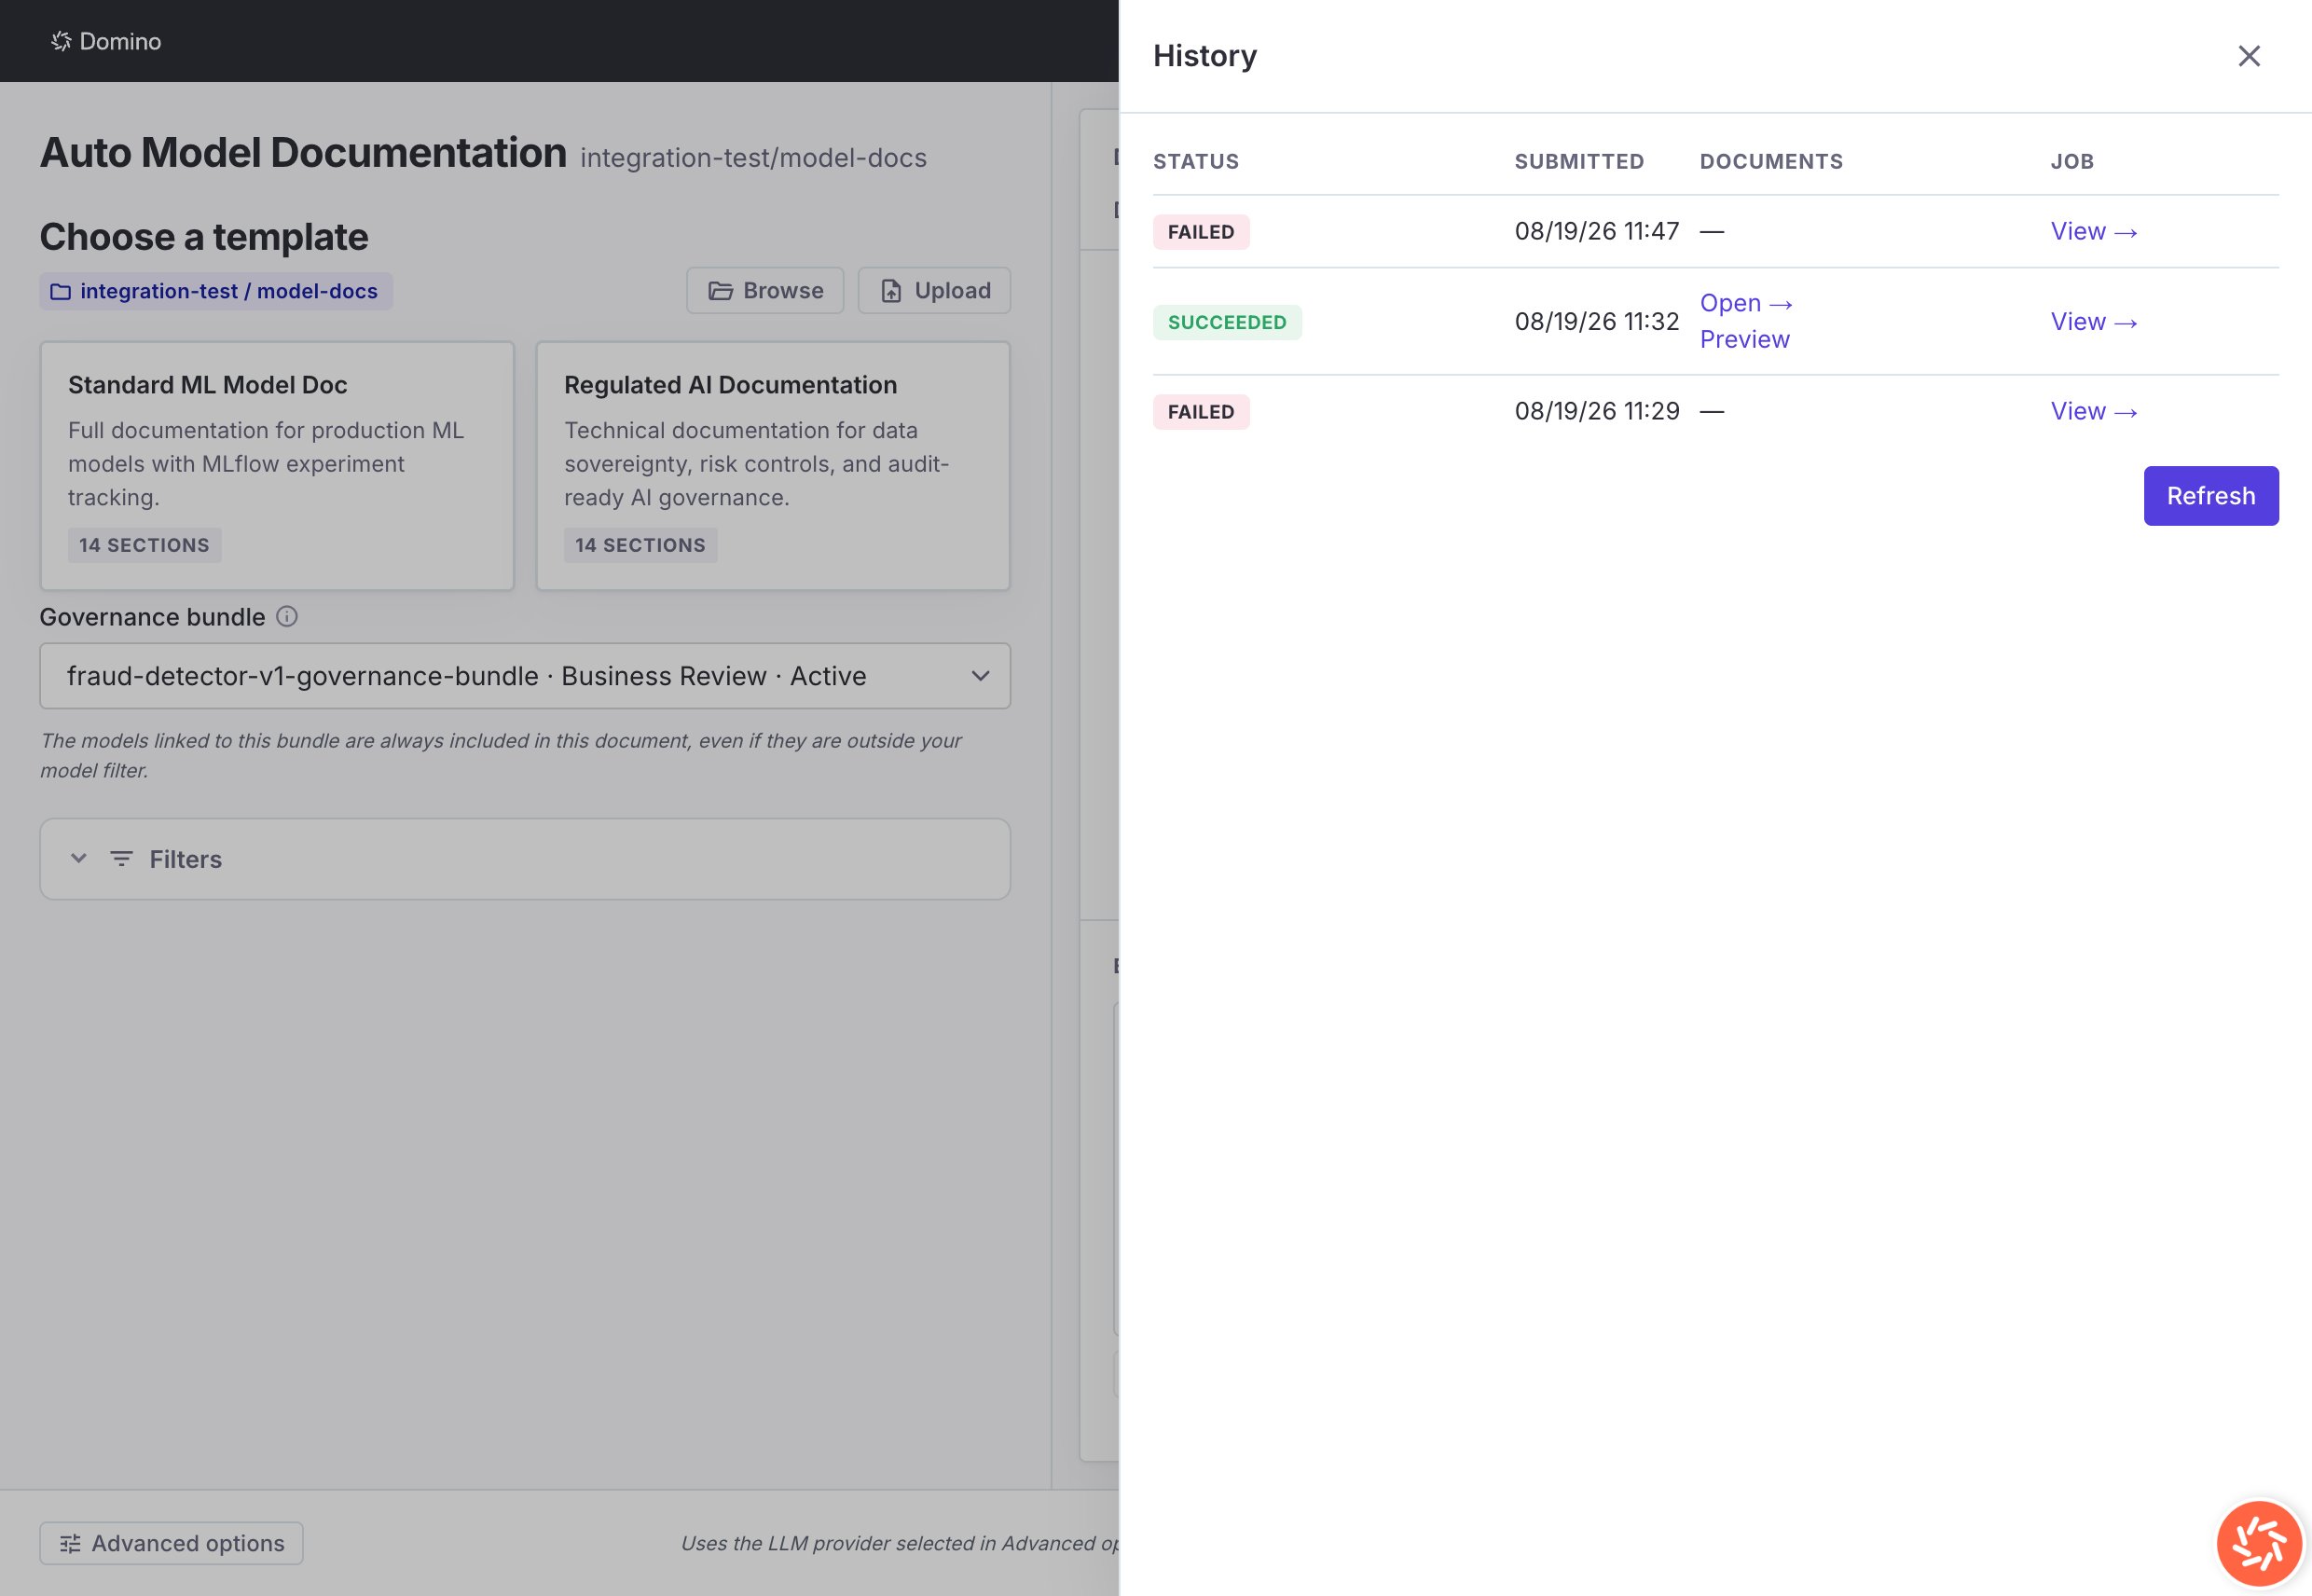
History drawer with a completed run
docs/.
Job history scope
History lists documentation jobs for the current project only. Other users with project access see the same list.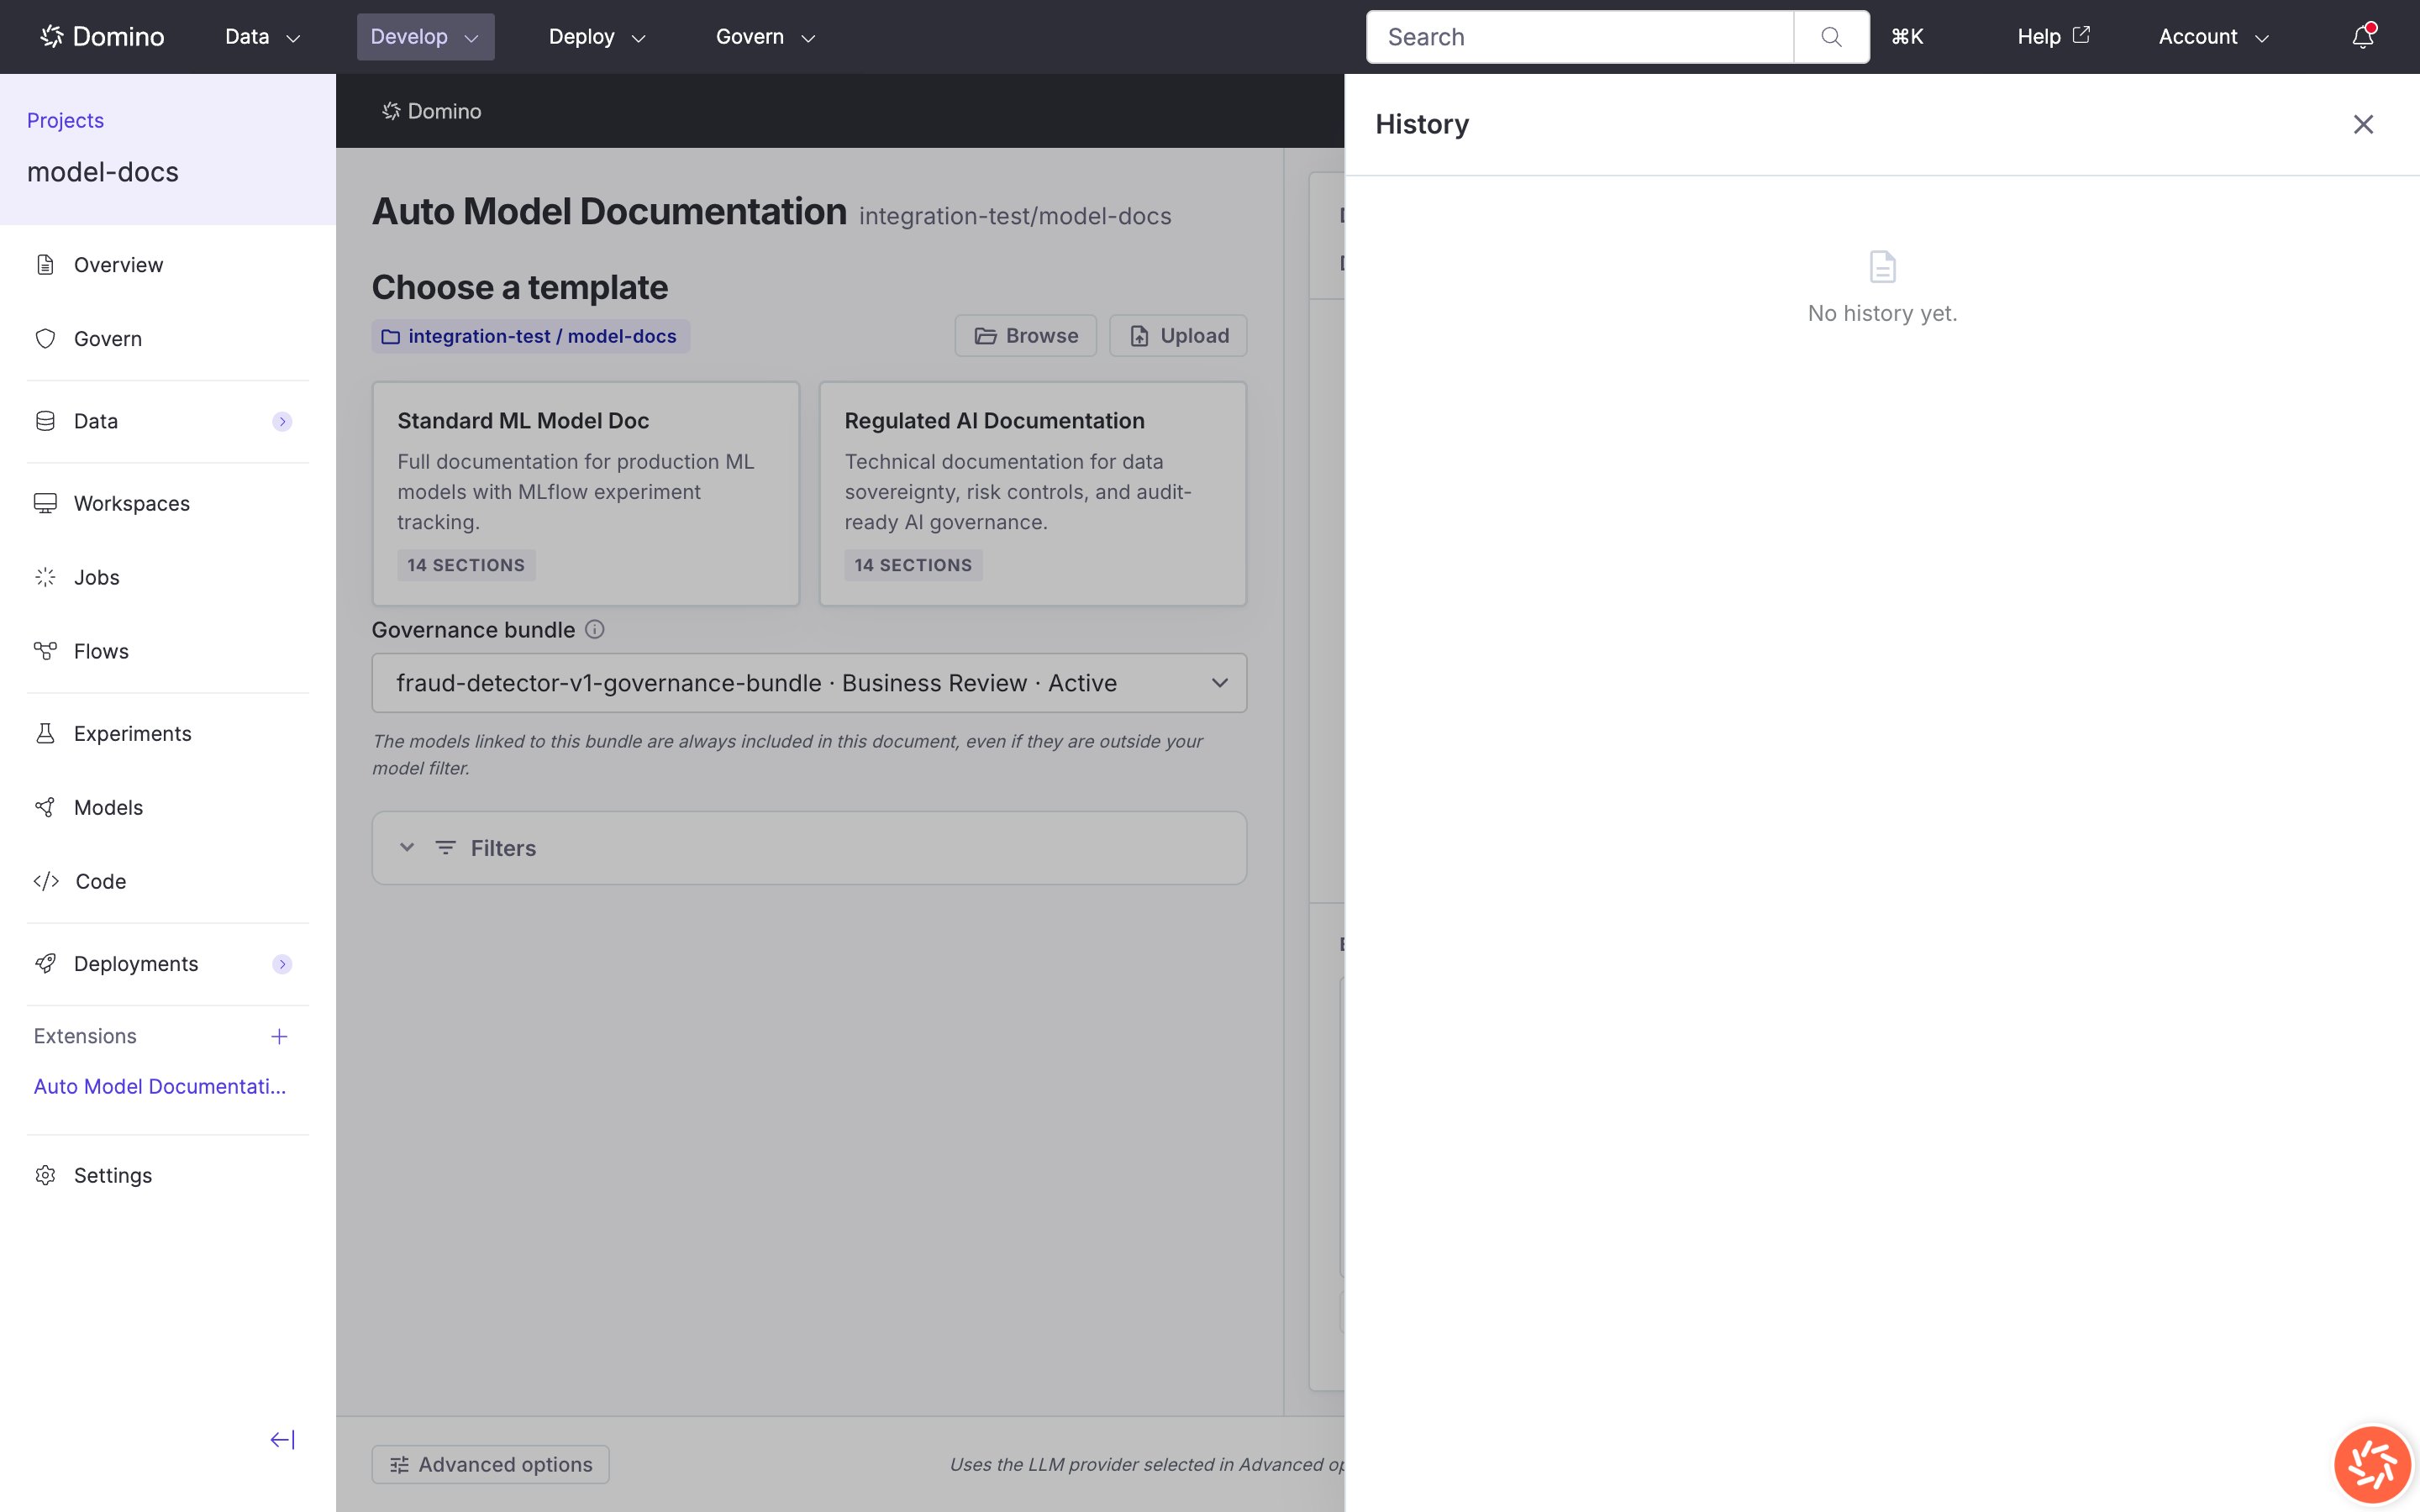
History drawer before any runs
What to expect
Auto Model Documentation produces a structured first draft, not a finished compliance artifact. Knowing the shape of the output up front saves review cycles. Duration. Generation runs as a Domino job. Time scales with the number of code files scanned and the number of registered models that match your filters. A small project with a handful of models typically finishes in a few minutes. A large project with many files and per-model sections takes longer. Use filters to narrow scope when you only need a subset documented. Output length. Sections are only as long as the evidence supports. When code, model metrics, or governance data is missing for a topic, the section is short and says so explicitly. This is by design. Human review. A human reviewer should verify citations, add business context the code cannot convey, and confirm any compliance claims against the governing evidence. The tool assembles and cites; it does not sign off. Cost. Generation calls the LLM provider you select. Usage scales with the amount of code and metadata sent. Route through your organization’s proxy or gateway in Advanced options if you need billing or egress controls.For administrators
This section is for Domino administrators installing and configuring the extension. End users can skip this section.Install
- Open Admin > Extensions > Manage Domino-official Extensions.
- Select Auto Model Documentation.
- Choose a version (for example 1.0.0).
- Click Install and wait for the pipeline to finish.
modeldocs vanity URL, entry point app.sh), and extension record with projectSidebar and model mount points.
For the full installer reference, including upgrades, retries, and uninstalls, see Install Domino Official Extensions.
Post-install configuration
No environment variables are required for a baseline 1.0.0 install.Recommended: set
ANTHROPIC_API_KEY or OPENAI_API_KEY on the extension project or job compute environments. Optional: ANTHROPIC_BASE_URL, OPENAI_BASE_URL.Troubleshooting
Studio does not load
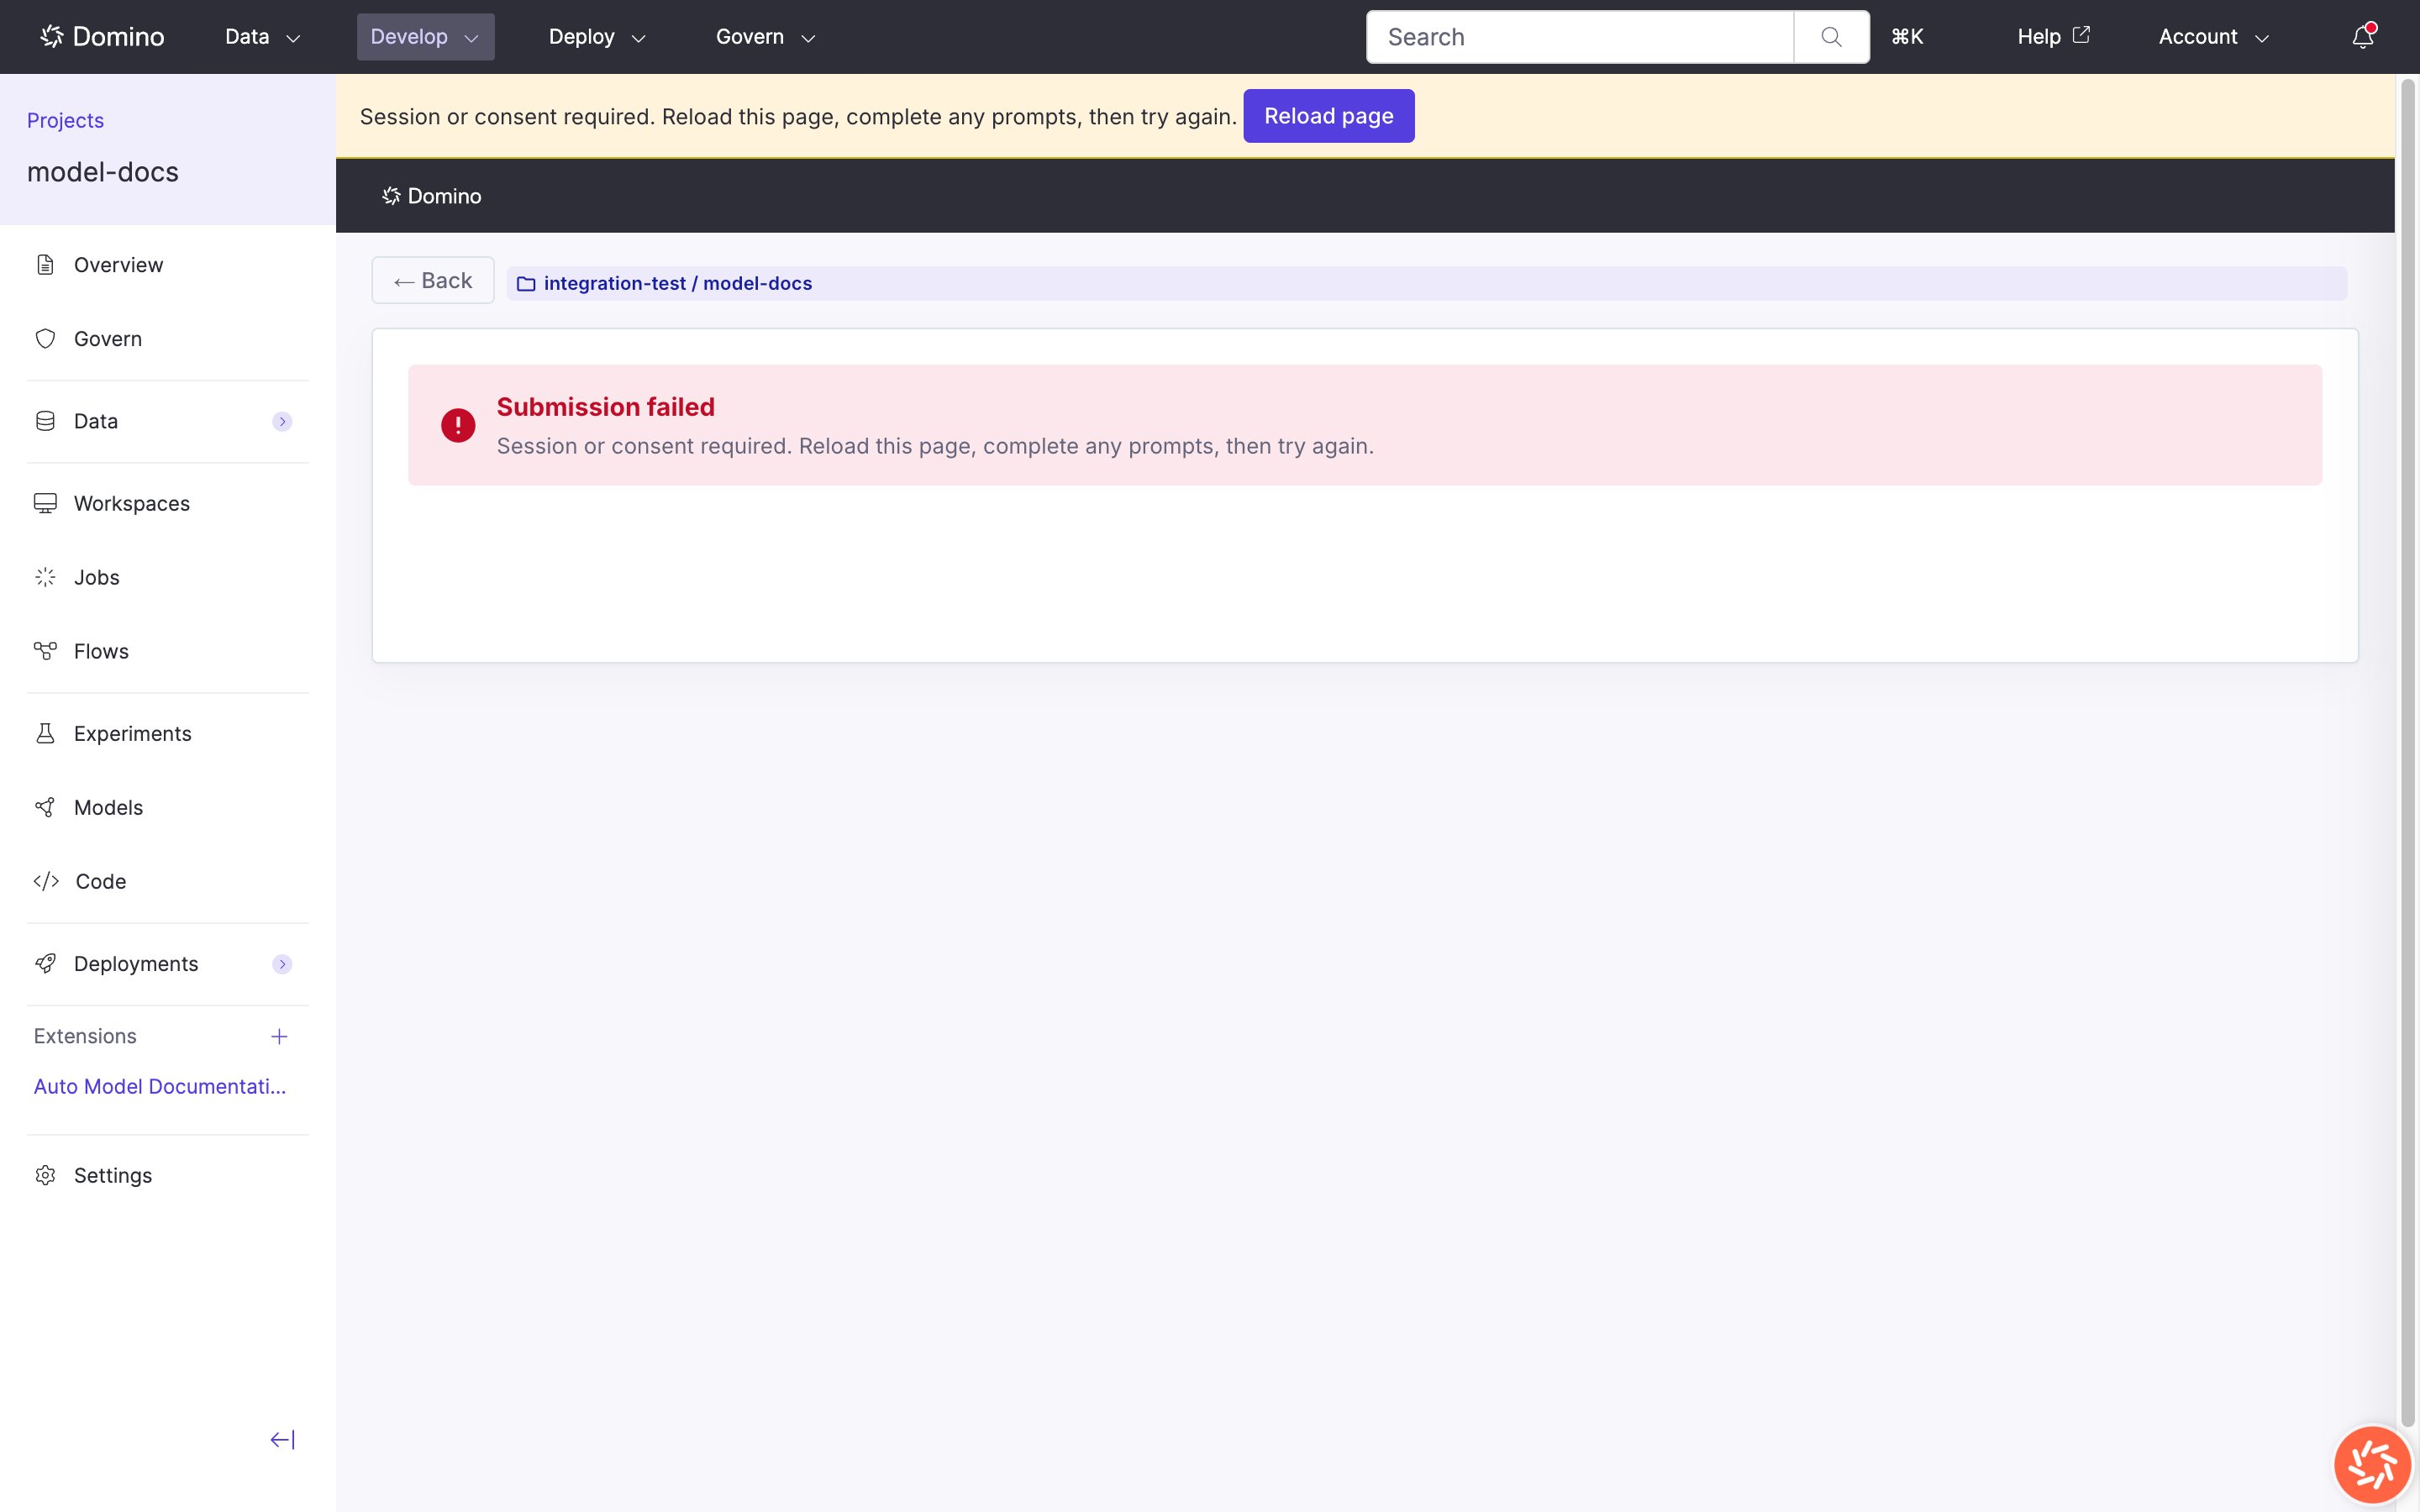
Session or consent required error
Templates
The Loading templates state never finishes: check dataset access and that the extension app is Running. Upload or save fails: confirm write access to the autodoc dataset.Other issues and actions
- Generate button disabled: No template selected, click a gallery card to enable it.
- Compute environment errors: contact your administrator.